
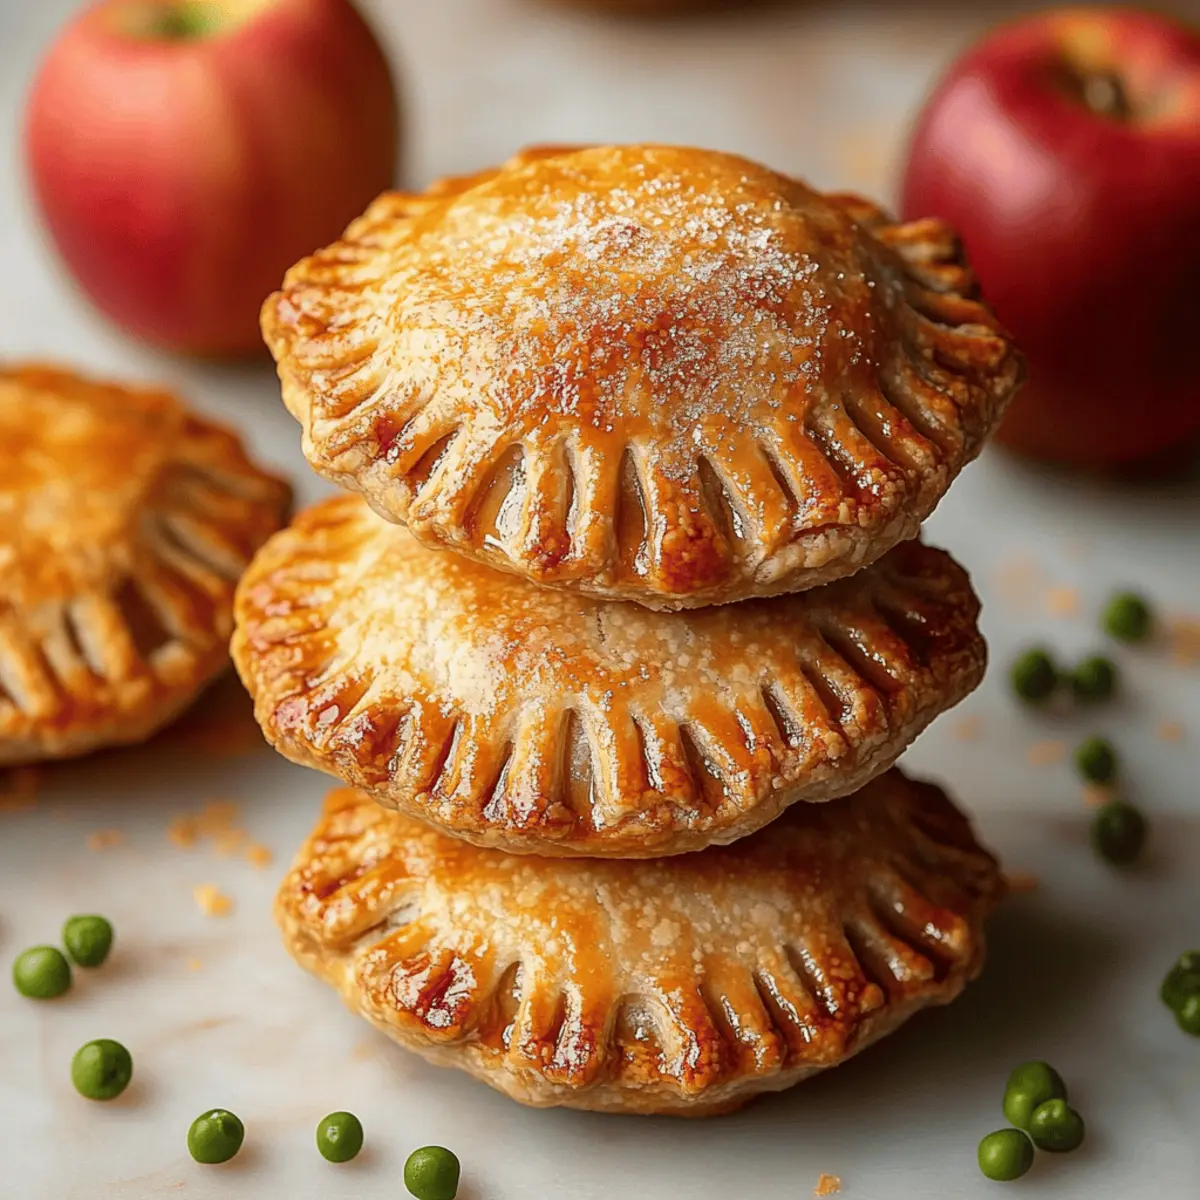
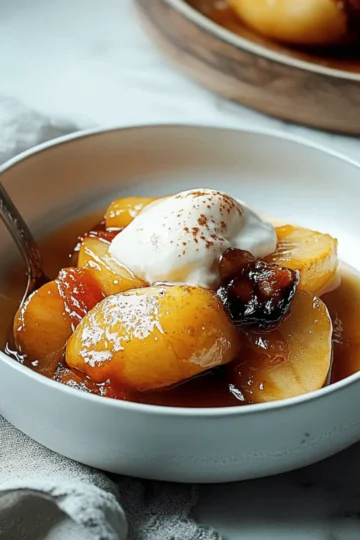
As the scent of spiced apples fills the kitchen, I can’t help but feel a wave of nostalgia wash over me. These Easy Cinnamon-Spiced Apple Hand Pies are my little pockets of autumn joy, bringing warmth and comfort with every bite. With a delightful flaky crust cradling a sweet filling, this recipe is not only quick to prepare but also perfect for sharing at cozy gatherings or enjoying as a solo snack. You can even customize the flavors with dried fruits or nuts, making each batch uniquely yours. Who wouldn’t love the irresistible charm of these handheld delights? Ready to roll up your sleeves and embrace the magic of homemade treats? Let’s dive in!

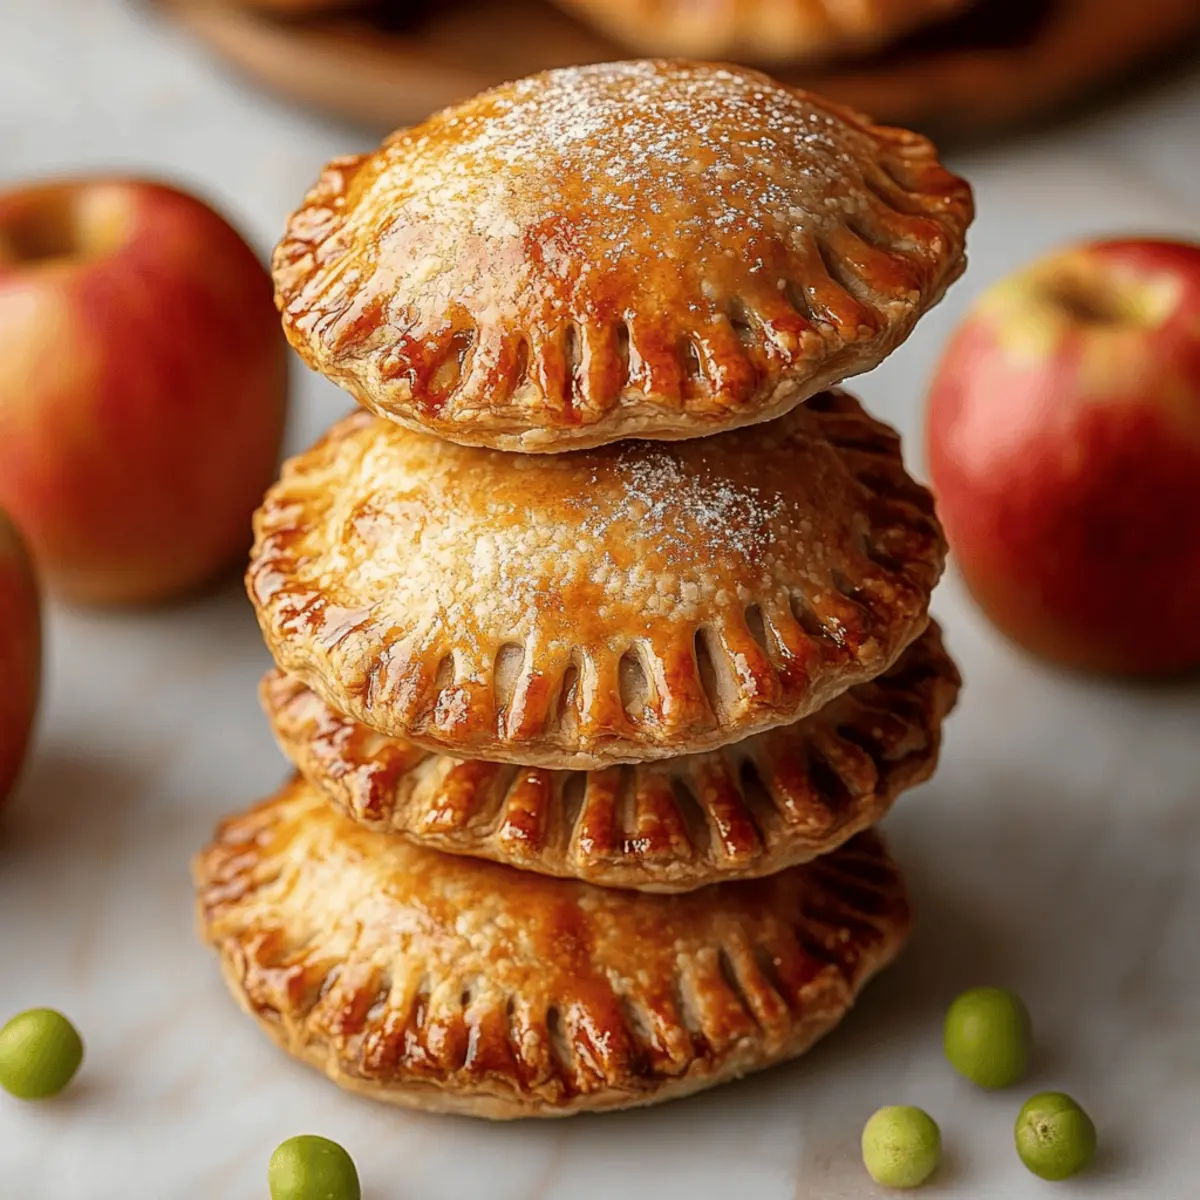
Why Are These Apple Hand Pies Irresistible?
Warm Flavors: Each bite bursts with the comforting essence of cinnamon and nutmeg, perfectly complementing the sweet apple filling.
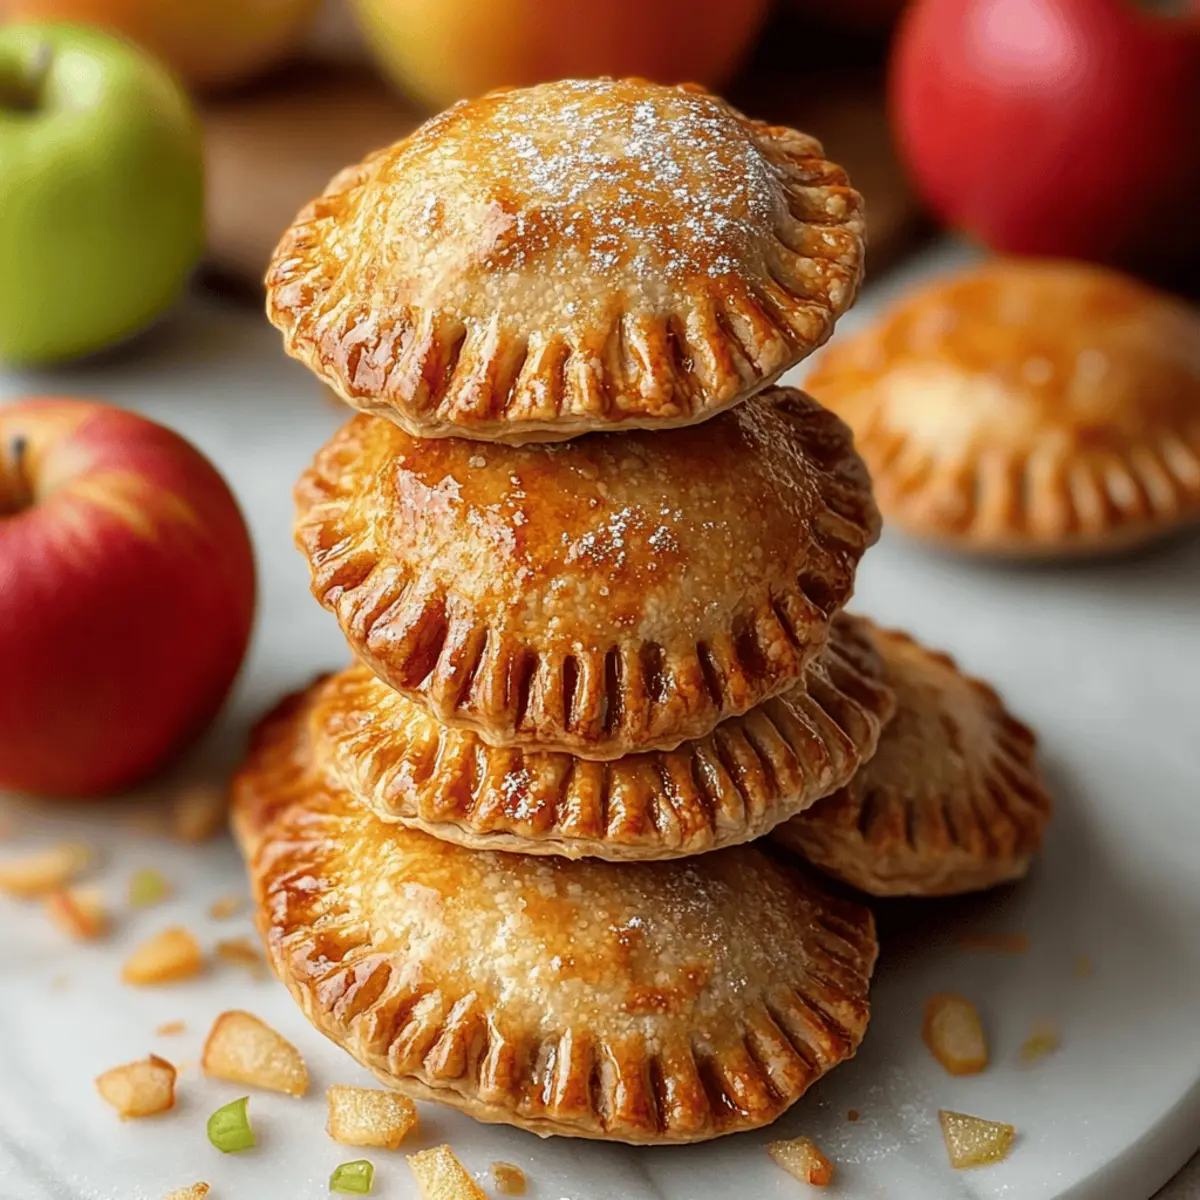
Versatile Delight: Modify the filling with your favorite dried fruits or nuts to create new flavor combinations for every occasion.
Easy to Make: With only a few straightforward steps, these hand pies are perfect for both beginner and seasoned bakers alike.
Perfect for Sharing: Their individual size makes them ideal for cozy gatherings, ensuring everyone can enjoy their own little treat.
Make Ahead Option: You can freeze unbaked pies, so you always have a delicious dessert ready to go whenever the craving strikes! Enjoy them warm with a cup of tea or coffee, and for more delightful dessert ideas, check out our easy homemade dessert recipes.
Apple Hand Pie Ingredients
• Discover what makes these hand pies delightful!
For the Filling
- Apples – Use firm, tart varieties like Granny Smith for a perfect sweet-tart balance.
- Sugar – Adjust the quantity based on the apples' natural tartness to achieve the desired sweetness.
- Flour – Helps thicken the filling and evenly distributes sweetness throughout.
- Vanilla Extract – Enhances the overall flavor; a must for that warm, inviting taste.
- Cinnamon & Nutmeg – These spices add warmth and depth; feel free to adjust according to your preferences.
For the Crust
- Pie Crust – Choose homemade or store-bought; it provides the flaky texture that complements the filling.
- Butter – Adds richness when dolloped over the apple mixture; don’t skip this for an extra indulgent bite!
For the Finishing Touch
- Egg (for wash) – Ensures a beautiful golden-brown top while sealing the edges of your hand pies.
- Coarse Sugar (optional) – Sprinkled on top for an extra crunch and a touch of sweetness, making these Apple Hand Pies even more irresistible!
Step‑by‑Step Instructions for Easy Cinnamon-Spiced Apple Hand Pies
Step 1: Preheat and Prepare the Baking Sheet
Begin by preheating your oven to 400°F (204°C). While it warms up, line a baking sheet with parchment paper to prevent sticking and ensure easy cleanup later. This will be where your delicious Apple Hand Pies will bake to golden perfection, so getting these details right sets you up for success.
Step 2: Roll Out and Cut the Pie Crust
Next, roll your pie crust out on a lightly floured surface until it's about ⅛-inch thick. Use a 3.5-inch round cutter to create uniform circles—aim for around 12 circles in total. Once cut, place them on a baking sheet, cover with plastic wrap, and chill in the fridge for about 15 minutes. This helps the crust maintain its structure during baking.
Step 3: Prepare the Apple Filling
In a mixing bowl, combine your chopped apples with sugar, flour, vanilla extract, cinnamon, and nutmeg. Stir until the apples are evenly coated with the mixture, allowing the flavors to meld beautifully. The filling should look sticky and sweet, inviting you to scoop it into your chilled crusts and filling your kitchen with a warm, comforting aroma.
Step 4: Assemble the Hand Pies
Take the chilled pie crust circles out of the fridge. On one half of each circle, spoon a generous amount of the apple filling, making sure not to overfill. Add a few small dollops of butter on top of the filling for richness. Moisten the edges of the crust with a little egg wash to ensure a good seal before folding over the crust to create a little pocket of deliciousness.
Step 5: Crimp and Seal the Edges
Carefully cover the filled crust circles with the remaining halves. Use a fork to crimp the edges tightly, ensuring no filling leaks out while they bake. Place the assembled Apple Hand Pies back on the lined baking sheet, leaving some space between each one for expansion. This is a critical step to keep your hand pies beautifully shaped and intact.
Step 6: Prepare for Baking
Brush the tops of your Apple Hand Pies with the remaining egg wash combined with a little milk for that golden brown finish. If you’d like extra texture and sweetness, sprinkle coarse sugar over the top—this creates a delightful crunch when baked. Finally, use a sharp knife to cut a few small slits in the top of each pie for steam to escape during baking.
Step 7: Bake to Perfection
Pop your prepared Apple Hand Pies into the preheated oven and bake for 18-22 minutes. Keep an eye on them; they should become golden and slightly puffed up, and you’ll see the apple filling bubbling inside. The sweet, spicy scent will entice you as they bake, filling your kitchen with comfort and warmth.
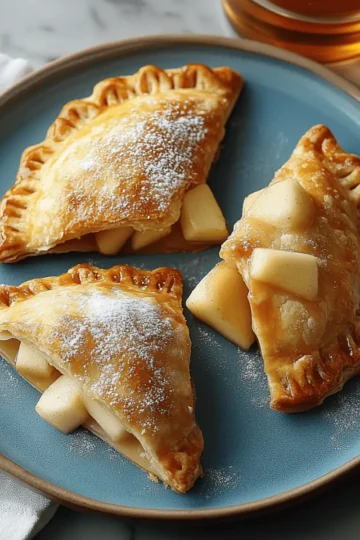
Step 8: Cool and Serve
Once baked to perfection, remove the Apple Hand Pies from the oven and let them cool on a wire rack for about 10 minutes. This cooling period helps the filling set a little and makes them easier to handle later. Serve them warm, and prepare for delight as each bite reveals the flaky crust and spiced apple goodness inside.
How to Store and Freeze Apple Hand Pies
Room Temperature: Keep baked Apple Hand Pies in an airtight container at room temperature for up to 2 days to maintain their delightful flakiness.
Fridge: For longer storage, place the hand pies in an airtight container in the fridge; they will stay fresh for up to 5 days.
Freezer: Freeze unbaked Apple Hand Pies individually on a baking sheet, then transfer to a freezer-safe bag for up to 3 months. Bake directly from frozen, adding extra time as needed.
Reheating: To reheat baked pies, place them in a preheated oven at 350°F (175°C) for about 10-15 minutes until warmed through and crispy.
Apple Hand Pies Variations & Substitutions
Feel free to let your creativity shine and customize these hand pies according to your taste!
- Pear Surprise: Substitute half the apples with ripe pears for a sweet twist that adds a juicy texture. Your family will appreciate the unique flavor!
- Nut Lovers: Add a handful of chopped walnuts or pecans to the filling for a satisfying crunch and nutty richness. It's a delightful addition that pairs beautifully with the spiced apples.
- Dried Fruit Boost: Mix in dried cranberries or raisins for a pop of sweetness and chewy texture that elevates every bite. This little twist introduces a burst of flavor, making your hand pies even more special.
- Pumpkin Spice Twist: Swap out the traditional spices for pumpkin pie spice for a seasonal update. This brings a cozy autumn vibe to your pie, creating a deliciously warm flavor profile.
- Gluten-Free Option: Use a gluten-free pie crust to accommodate dietary needs while enjoying the same comforting flavors. You won't miss the wheat at all—it still delivers that wonderful flakiness!
- Savory Greatness: Experiment with savory fillings by incorporating caramelized onions and cheese for a delightful savory hand pie experience. Perfect as a hearty snack or appetizer!
- Extra Crispy Toppings: For an added crunch, mix crushed graham crackers or oatmeal into the coarse sugar topping. This creates a delightful textural contrast to the soft, spiced filling.
- Heat It Up: Add a pinch of cayenne pepper or some diced jalapeños to the apple mixture for a sweet-and-spicy kick that tantalizes your taste buds. It’s a fun twist that will surprise and delight anyone who takes a bite!
With these variations, your Apple Hand Pies can be anything you want them to be—ready to impress at gatherings or cozy nights in!
What to Serve With Easy Cinnamon-Spiced Apple Hand Pies
There's nothing quite like the warm, sweet aroma from the oven, inviting you to create a comforting meal around these delightful treats.
-
Vanilla Ice Cream: A scoop of creamy vanilla ice cream enhances the spiced apple fillings and adds a delightful cold contrast.
-
Caramel Sauce: Drizzle warm caramel over the hand pies for an indulgent twist, adding richness to each bite and tempting sweetness.
-
Chai Tea: The warm spices in chai tea complement the filling perfectly, wrapping you in cozy comfort with each sip.
-
Fresh Green Salad: A simple mixed green salad with a zesty vinaigrette balances the sweetness and cleanses the palate between bites of pie.
-
Cheddar Cheese: A sharp, aged cheddar pairs beautifully with the sweetness of the apples, providing a satisfying contrast of flavors and textures.
-
Pumpkin Spice Latte: This seasonal favorite echoes the hand pie's spices, creating a delightful symmetry perfect for chilly days.
-
Cinnamon Sugar Tortilla Chips: Crispy tortilla chips dusted with cinnamon sugar offer an extra crunch and sweetness, echoing the flavors of the hand pies while providing a fun twist.
-
Hot Apple Cider: A warm cup of spiced apple cider amplifies the apple flavor in your hand pies and is a perfect beverage for cozy gatherings.
Make Ahead Options
These Easy Cinnamon-Spiced Apple Hand Pies are perfect for meal prep enthusiasts looking to save time! You can prepare the filling (chopped apples mixed with sugar, flour, and spices) up to 24 hours in advance; simply refrigerate it in an airtight container to keep it fresh and prevent browning. Additionally, you can assemble the hand pies and freeze them unbaked for up to three months—this way, you always have a delicious treat ready to go! When you're ready to bake, just remove from the freezer and bake directly from frozen, adding an extra few minutes to the baking time for those comforting, flaky hand pies just like fresh from the oven!
Expert Tips for Apple Hand Pies
- Chill the Dough: Keep the pie crust in the fridge for 15 minutes before filling to prevent it from becoming too soft and difficult to work with.
- Don’t Overfill: Be cautious when adding the apple mixture. Overfilling can lead to leakage during baking. Aim for about 1-2 tablespoons of filling per pie.
- Crimp Well: Make sure to crimp the edges securely with a fork to seal in the filling properly, helping maintain the shape and preventing any spills.
- Steam Vents: Cutting slits on top is essential—this allows steam to escape and keeps the crust from getting soggy, ensuring a delightful crunch with your Apple Hand Pies.
- Bake Directly from Freezer: If you've frozen unbaked pies, there's no need to thaw them. Just add a few extra minutes to the baking time for perfect results.
Apple Hand Pies Recipe FAQs
What type of apples should I use for the filling?
I highly recommend using firm, tart apples like Granny Smith or Honeycrisp. These varieties provide the ideal balance of sweetness and tartness, resulting in a delicious filling that's neither too mushy nor overly sweet.
How should I store leftover Apple Hand Pies?
To maintain their delicious flaky texture, store baked Apple Hand Pies in an airtight container at room temperature for up to 2 days. If you want to keep them longer, transfer to the fridge where they'll stay good for about 5 days.
Can I freeze unbaked Apple Hand Pies?
Absolutely! To freeze, first assemble the pies and place them individually on a baking sheet to flash freeze for about 1-2 hours. Once they're firm, transfer them to a freezer-safe bag or container. They'll last up to 3 months! When you're ready to bake, pop them straight from the freezer into the oven—just add a few extra minutes to the baking time.
What should I do if my pie crust is too soft to work with?
Soft dough can be a bit tricky, but don’t worry! If your pie crust becomes too soft, simply chill it in the fridge for 15 to 30 minutes. Chilling will firm it up, making it easier to roll out and manage. It's a simple fix for perfect hand pies!
Are these hand pies suitable for people with allergies?
When making Apple Hand Pies, you can easily adapt them for dietary needs. For nut allergies, omit any nuts in the filling. If someone is gluten-free, consider using a gluten-free pie crust. Always check your filling ingredients for any potential allergens, and feel free to swap in alternative ingredients where necessary.
How can I avoid leaking filling while baking?
To prevent your Apple Hand Pies from leaking, make sure you don’t overfill them—1 to 2 tablespoons of filling per pie is a good rule of thumb. Additionally, ensure you crimp the edges securely with a fork, sealing in all that delightful goodness. Also, cutting small steam vents on the top allows excess moisture to escape without compromising the structure!
Indulgent Apple Hand Pies for Cozy Autumn Days
Ingredients
Equipment
Method
- Preheat your oven to 400°F (204°C) and line a baking sheet with parchment paper.
- Roll the pie crust out on a lightly floured surface until about ⅛-inch thick and cut into 3.5-inch circles.
- Combine chopped apples with sugar, flour, vanilla extract, cinnamon, and nutmeg in a mixing bowl.
- Spoon a generous amount of apple filling on one half of each crust circle, and add small dollops of butter.
- Cover with remaining crust halves and crimp edges tightly with a fork.
- Brush tops with egg wash and sprinkle with coarse sugar, then cut small slits for steam to escape.
- Bake assembled hand pies for 18-22 minutes until golden and filling bubbles.
- Cool on a wire rack for about 10 minutes before serving.


Leave a Reply