
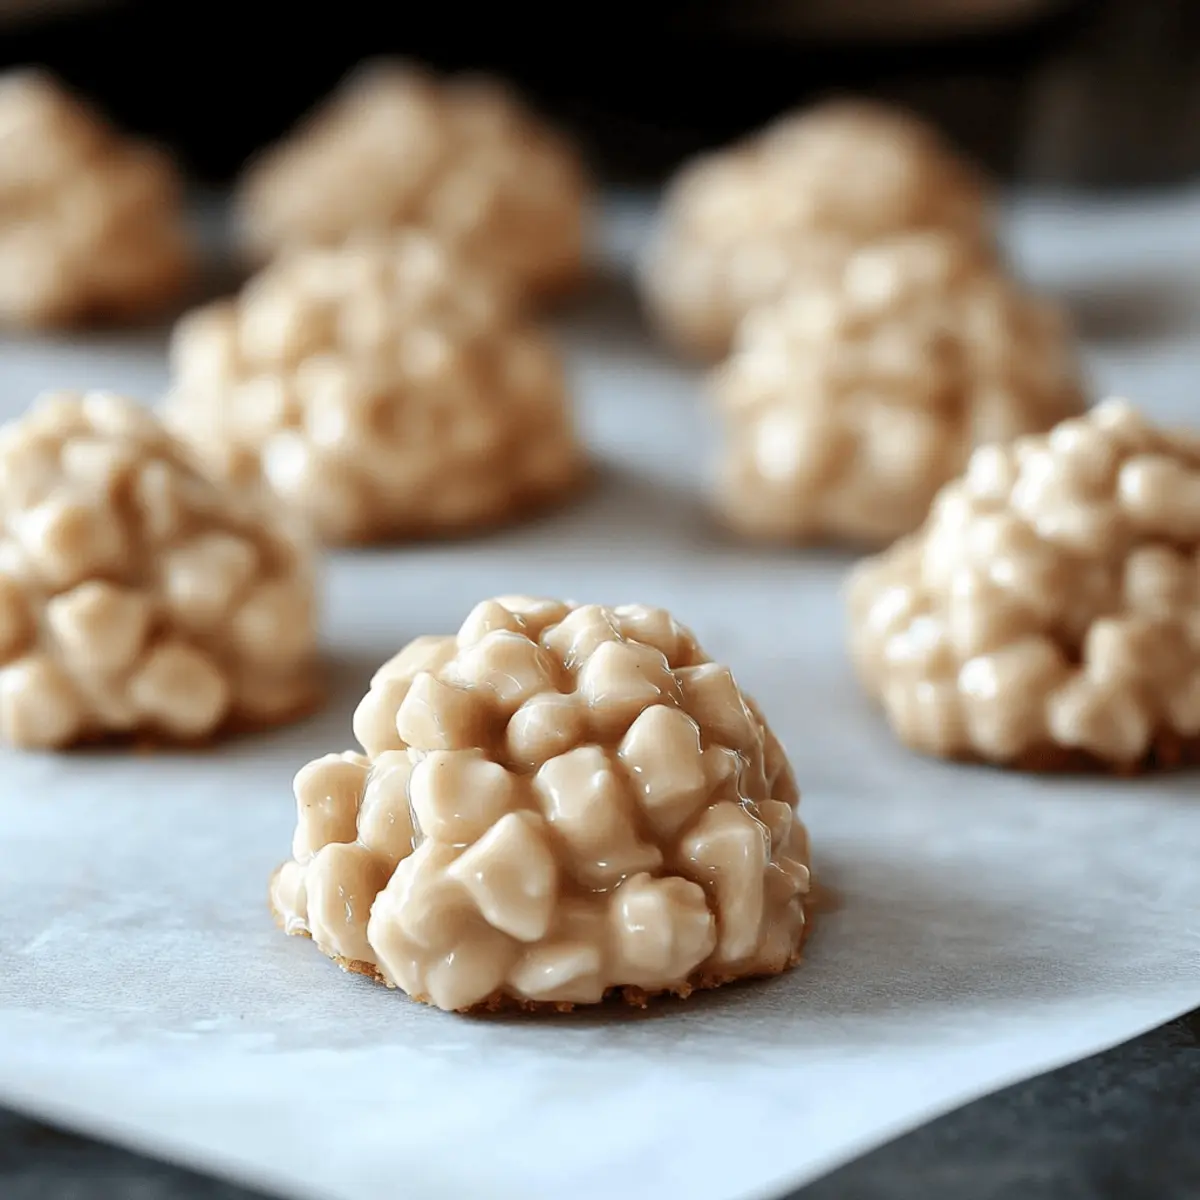
As I stood in my kitchen, the aroma of melting white chocolate wafting through the air, I found myself on a delicious adventure with my No Bake Avalanche Cookies. This delightful treat combines crispy rice cereal, creamy peanut butter, and fluffy mini marshmallows into a ridiculously easy, no-bake dessert that takes just 15 minutes to whip up. Not only are they a fun and quick snack to make, but they’re also wonderfully versatile—perfect for customizing with your favorite add-ins! Whether you're catering to kids after school or impressing adult friends at a gathering, these cookies will satisfy everyone’s sweet tooth. Ready to dive into this crunchy, gooey wonder? Let’s make something extraordinary!
Why Are No Bake Avalanche Cookies Irresistible?
Simplicity: These cookies are a breeze to make—no oven required! Just follow a few easy steps and you’re on your way to a delicious treat.
Versatile: Customize them to your taste by swapping in different cereals or adding nuts and dried fruits for an extra crunch.
Quick Satisfaction: With only 15 minutes of prep time, you’ll have a sweet snack ready in no time, great for unexpected cravings or last-minute gatherings.
Crowd-Pleasing: Perfect for both kids and adults, these cookies are sure to win hearts at parties and family get-togethers.
Decadent Flavor: The combo of white chocolate, peanut butter, and marshmallows creates a heavenly mix of textures you won’t be able to resist! Enjoy them with a cup of coffee or as a delightful dessert after dinner.
No Bake Avalanche Cookies Ingredients
For the Cookies
- Crispy Rice Cereal – Provides the essential crunch and structure. Substitution: Puffed wheat or cornflakes can be used for different textures.
- White Chocolate – Adds sweetness and a creamy texture when melted. Tip: Choose high-quality chocolate for the best flavor and consistency.
- Peanut Butter – Offers a rich, nutty flavor while binding the ingredients together. Substitution: Use almond butter or sunflower seed butter for nut-free options.
- Mini Marshmallows – Contribute chewiness and sweetness to the cookies. Note: For a firmer texture, fresh marshmallows work best.
- Mini Chocolate Chips (optional) – For garnish, adding extra chocolate flavor and a delightful visual appeal.
For Optional Add-Ins
- Nuts (chopped) – Increase crunch and introduce a nutty flavor. Tip: Choose your favorites, such as almonds or walnuts, for a unique twist.
- Dried Fruits – Add a touch of sweetness and chewiness. Suggestion: Try raisins, cranberries, or apricots for additional flavor profiles.
- Flaky Sea Salt – A pinch can enhance the sweet-salty balance, providing a delightful contrast. Note: Sprinkle lightly on top before chilling.
These No Bake Avalanche Cookies are not just easy—they're also endlessly customizable. Whip up a batch today and enjoy a deliciously simple treat everyone will adore!
Step‑by‑Step Instructions for No Bake Avalanche Cookies
Step 1: Prepare Baking Sheets
Begin by lining two baking sheets with parchment paper to prevent sticking. This will be where you drop your No Bake Avalanche Cookies to set. Ensure the parchment is smooth and wrinkle-free for easy cookie removal later. Prepping your workspace is essential for a fun and mess-free experience.
Step 2: Combine Dry Ingredients
In a large mixing bowl, combine the crispy rice cereal and mini marshmallows. Gently fold these ingredients together for an even mix, allowing the marshmallows to distribute evenly throughout the cereal. This crunchy base is vital for achieving the delightful texture in your No Bake Avalanche Cookies.
Step 3: Melt Chocolate and Peanut Butter
In a microwave-safe bowl or a double boiler, melt the white chocolate and peanut butter together over low heat. Stir the mixture frequently until it becomes smooth and glossy, taking about 1-2 minutes in the microwave or 5-7 minutes over the stovetop. Be cautious not to overheat to prevent seizing, ensuring a perfect pour.
Step 4: Mix Everything Together
Once melted, pour the warm chocolate-peanut butter mixture over the cereal and marshmallow mix. Using a spatula, gently fold the mixture until every piece is thoroughly coated. This step is crucial for the gooey goodness that defines your No Bake Avalanche Cookies—make sure there are no dry spots left!
Step 5: Shape the Cookies
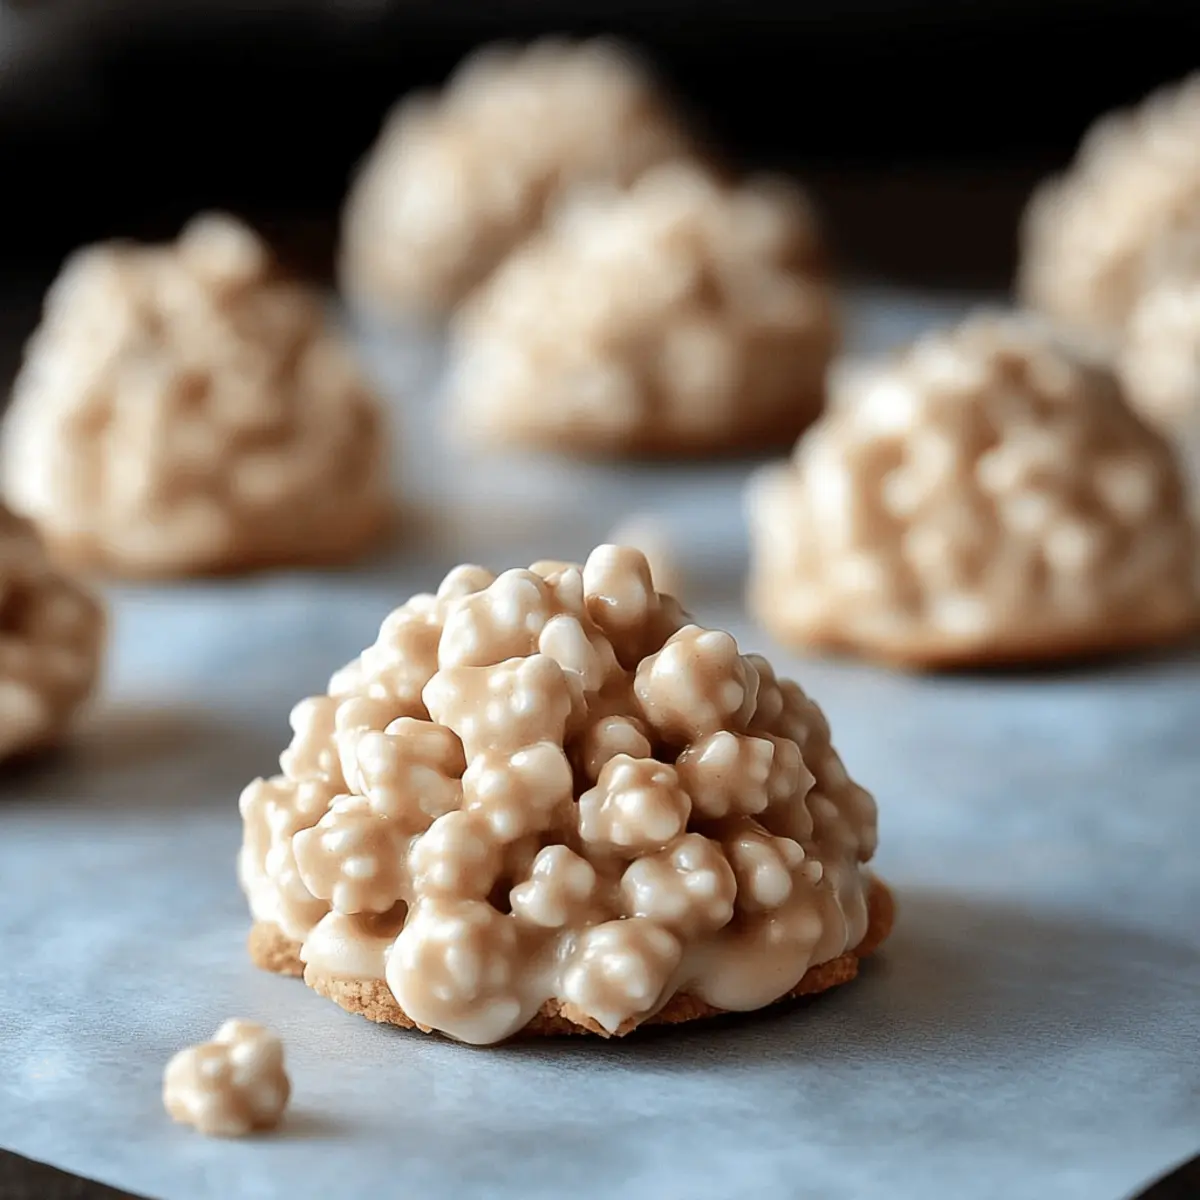
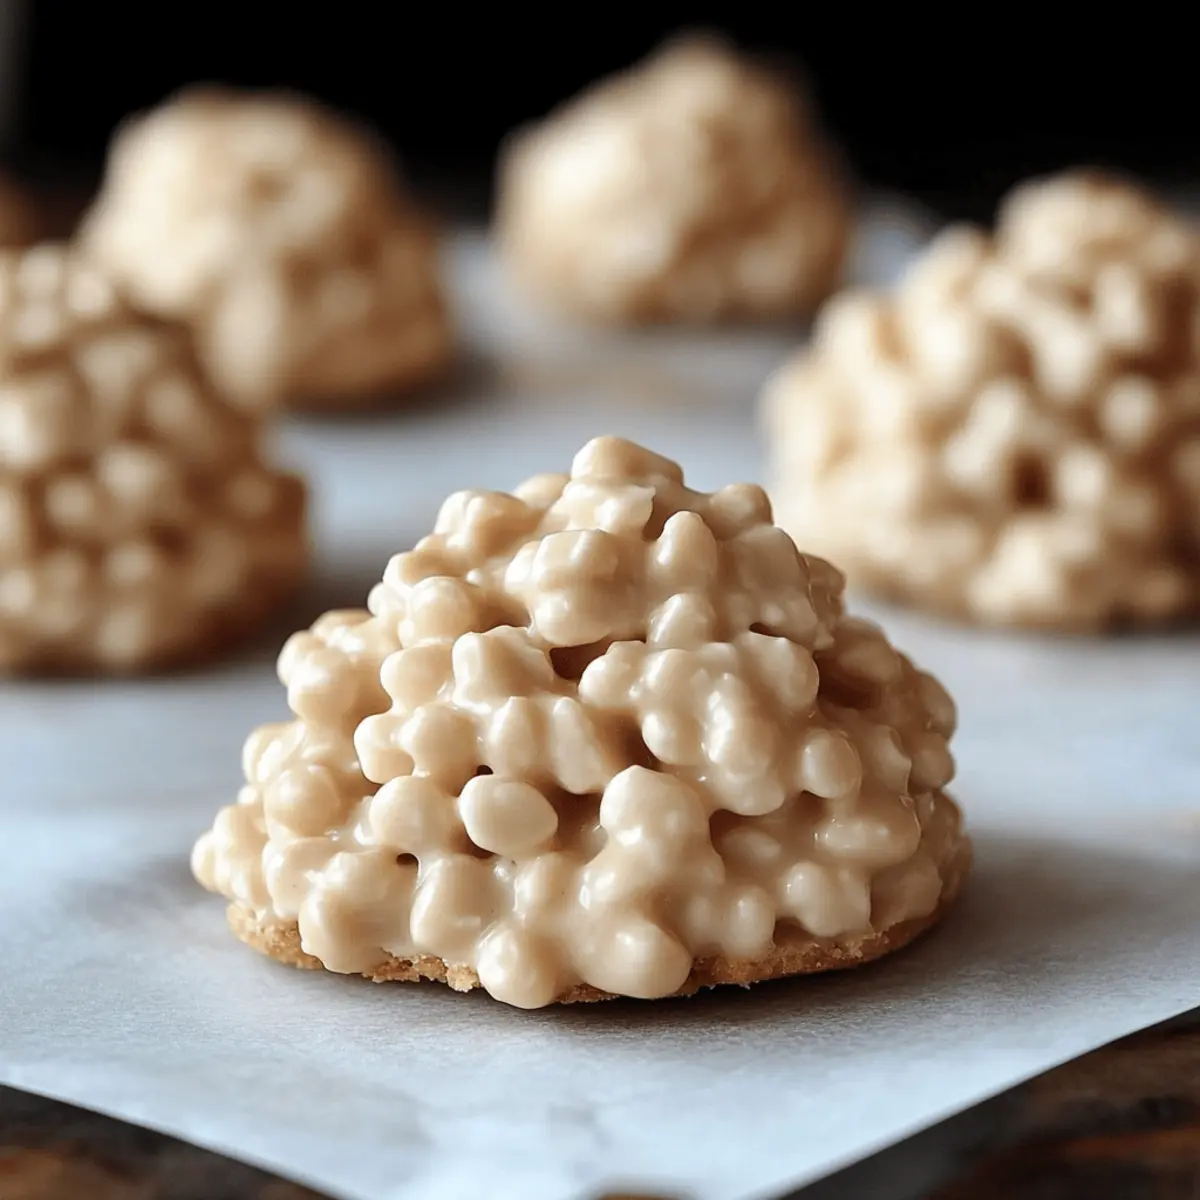
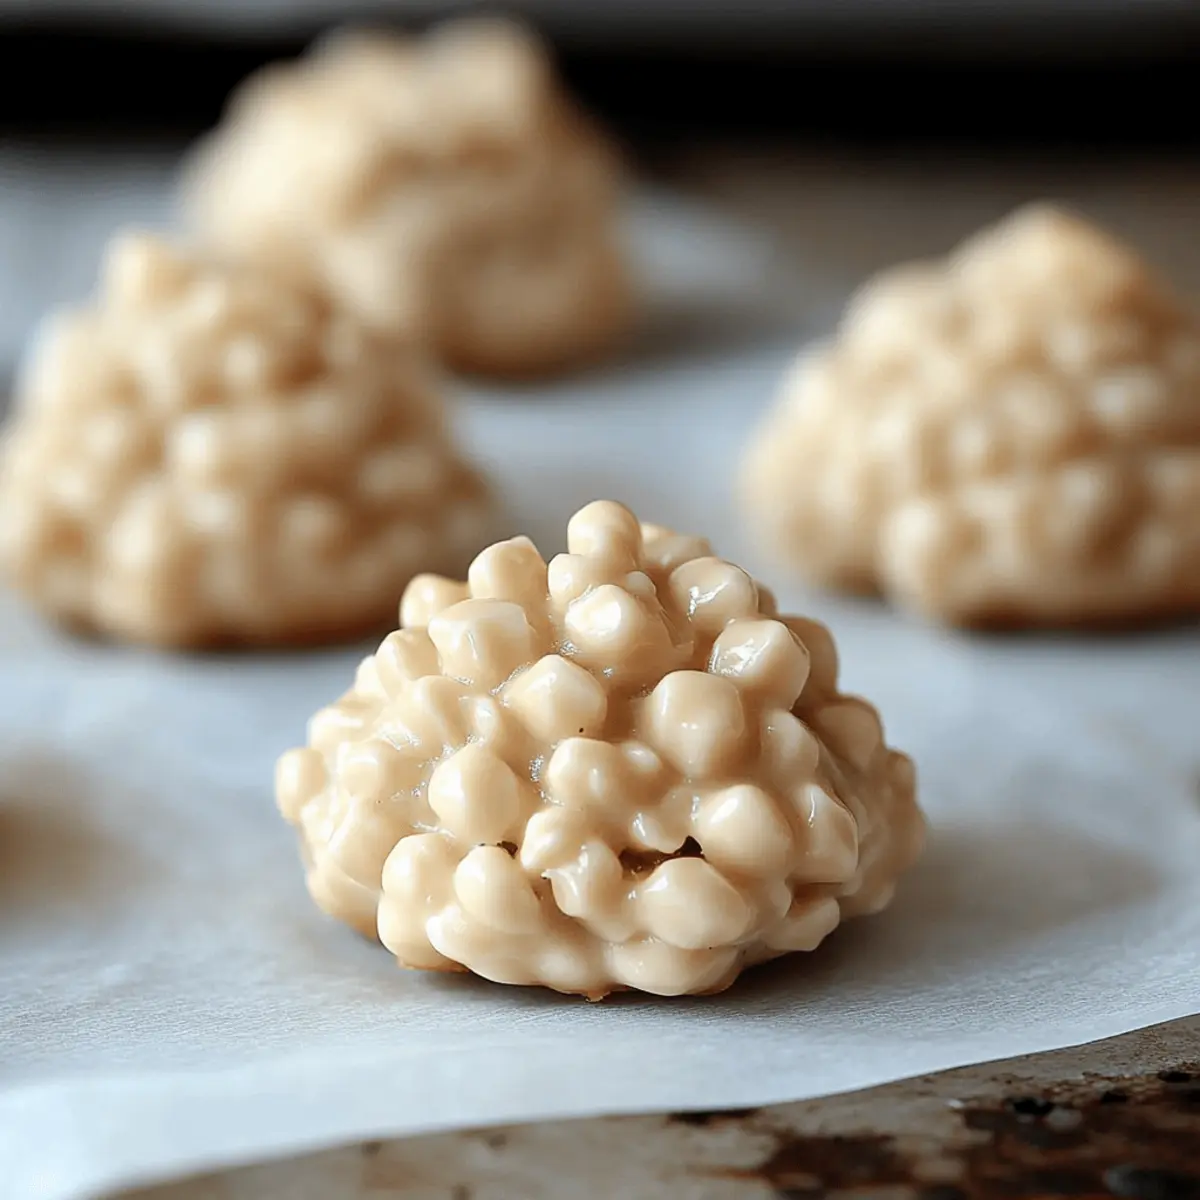
Using a tablespoon, scoop out the mixture and drop mounds onto the parchment-lined baking sheets. Optionally, press down lightly to shape them as desired. This step creates the iconic look of your cookies. If you’d like, sprinkle mini chocolate chips on top for an additional burst of chocolate flavor.
Step 6: Chill and Set
Place the baking sheets in the refrigerator for about 30 minutes or until the cookies have fully set. This chilling time allows the chocolate to harden, ensuring your No Bake Avalanche Cookies hold their shape. Keep an eye on them; once firm to the touch, they’re ready to enjoy!
What to Serve with No Bake Avalanche Cookies
Elevate your dessert experience by pairing these delightful treats with complementary flavors and textures.
- Fresh Berries: Juicy strawberries or blueberries add a refreshing tartness, balancing the sweetness of the cookies beautifully.
- Vanilla Ice Cream: A scoop of creamy vanilla ice cream creates a dreamy contrast with the crunchy, gooey cookies—perfect for a warm dessert!
- Chocolate Drizzle: Drizzling extra melted chocolate on top enhances the rich flavor and adds a touch of elegance to your presentation.
- Coffee: Enjoy these cookies alongside a robust cup of coffee, where the bitter notes perfectly contrast the sweet, creamy flavors.
- Milk: For a classic pairing, serve with a tall glass of cold milk, providing a nostalgic and comforting experience.
- Caramel Sauce: A drizzle of warm caramel sauce brings a buttery richness that complements the cookies’ texture and flavor.
- Whipped Cream: Light and fluffy whipped cream adds an airy touch that softens the sweetness while enhancing the indulgence.
- Nut Mix: A handful of salty mixed nuts introduces a crunchy contrast and nutty flavor, offering a savory balance to the sweet cookies.
- Fruit Salad: A colorful fruit salad infused with citrus dressing provides brightness and freshness, making a refreshing contrast to the rich cookies.
How to Store and Freeze No Bake Avalanche Cookies
Fridge: Store cookies in an airtight container for up to 1 week to maintain their chewy texture and freshness.
Freezer: Individually wrap each cookie in plastic wrap or parchment paper, then place them in a freezer-safe bag. They can be frozen for up to 3 months.
Thawing: To enjoy, simply thaw the cookies in the fridge overnight before serving. This keeps them soft and delicious!
Room Temperature: If you need to keep them out for a short time, place them in a cool area—but avoid direct sunlight and warmth, which may soften the cookies.
No Bake Avalanche Cookies Variations
Feel the freedom to make these No Bake Avalanche Cookies your own with some fantastic twists and swaps that will tantalize your taste buds!
- Nut-Free: Substitute peanut butter with sunflower seed butter for a delightful, nut-free option. This keeps the creamy goodness while accommodating allergies.
- Cereal Flight: Experiment with different cereals like cornflakes or granola for added crunch and flavor. Each type brings a unique twist that can surprise your palate.
- Sweet and Salty: Add a sprinkle of flaky sea salt on top before chilling for a mouthwatering sweet and salty contrast. The crunch of salt makes the sweetness sing!
- Chocolate Overhaul: Switch up the white chocolate with dark chocolate or even milk chocolate for a personalized take on the classic flavor. This one simple change can completely transform your treat!
- Fruity Delight: Incorporate dried fruits like cranberries or apricots to introduce a burst of flavor and chewy texture. It's a fun way to add a fruity note that complements the sweetness.
- Crunchy Nuts: Toss in chopped almonds or walnuts for an extra crunch. This not only enhances the texture but also adds a nutty flavor that pairs beautifully with the other ingredients.
- Marshmallow Madness: Swap mini marshmallows for cut-up pieces of your favorite candy bars for a fun, candy-inspired twist. Think chocolate bars or caramel for a tasty surprise in every bite.
- Spice It Up: Add a dash of cinnamon or vanilla extract to the melted chocolate mixture for a warm, aromatic flavor that warms the soul. This little addition can elevate the whole experience!
Whichever variation you choose, you'll create a delightful treat that appeals to your tastes, ensuring that each batch of No Bake Avalanche Cookies is a hit! If you're looking for more delicious variations, don’t hesitate to check out my tips on creating enticing chocolate desserts that will inspire you even further!
Make Ahead Options
These No Bake Avalanche Cookies are a fantastic option for meal prep, allowing you to save time on busy days. You can prepare the cookie mixture and refrigerate it for up to 24 hours before shaping and chilling. Simply follow the initial steps of combining the crispy rice cereal and marshmallows, then melt the white chocolate and peanut butter together. Store the mixture in an airtight container in the fridge to keep it fresh. When you're ready to finish the cookies, just stir the ingredients again, scoop them onto the parchment-lined baking sheets, and chill until set. This way, you’ll have delicious, gooey treats with minimal effort!
Expert Tips for No Bake Avalanche Cookies
Quality Ingredients: Use high-quality white chocolate for the best flavor. Cheap chocolate can lead to a grainy texture.
Mix Gently: When combining the melted chocolate mixture with dry ingredients, fold gently to avoid crushing the cereal and marshmallows.
Chill Time: Don't rush the chilling process! Allow at least 30 minutes in the fridge for the cookies to set properly, ensuring they hold their shape.
Customization: Feel free to get creative! Adding dried fruits or switching out the nut butter can give your No Bake Avalanche Cookies a unique twist.
Storage Solutions: Keep your cookies in an airtight container in the fridge for up to a week. Avoid leaving them at room temperature, as they may lose their texture.
Serving Ideas: Pair the cookies with fresh fruit or a scoop of ice cream for a delightful dessert experience that balances sweetness and texture.
No Bake Avalanche Cookies Recipe FAQs
How do I choose the right crispy rice cereal?
Absolutely! Opt for a brand that doesn’t contain too many added sugars, as these can alter the flavor of your No Bake Avalanche Cookies. Look for crispy rice cereals that have a good crunch and are fresh without any stale or cardboard-like flavors. If you want a change of texture, puffed wheat or cornflakes can be great substitutes!
How should I store my No Bake Avalanche Cookies?
Very simple! Store your cookies in an airtight container in the fridge for up to a week. This will help maintain their delightful chewy texture. If you find leftovers after a week (which is unlikely, trust me!), make sure to toss them out for freshness. Keeping them refrigerated also helps prevent them from getting sticky or melty.
Can I freeze No Bake Avalanche Cookies?
You sure can! Wrap each cookie tightly in plastic wrap or parchment paper to keep them from clumping together, then place them in a freezer-safe bag. They can be frozen for up to 3 months. When you’re ready to enjoy them, just pull out a few cookies and let them thaw in the fridge overnight for the best texture.
What if my chocolate gets too thick or hard when melting?
No worries! If your mixture seizes up, it's likely due to overheating. You can revive it by adding a teaspoon of vegetable oil or cocoa butter and returning it to gentle heat until it becomes smooth again. Always melt chocolate at low temperatures—if using a microwave, heat it in 15-20 second bursts, stirring between each.
Are there any allergy considerations I should keep in mind?
Definitely! Since these No Bake Avalanche Cookies contain peanut butter, be mindful of anyone with nut allergies. You can easily swap peanut butter for sunbutter or a different nut butter like almond butter for those who aren’t allergic but prefer different flavors. Always check labels for allergens, especially if you're sharing your cookies.
How long do these cookies need to chill?
I recommend chilling your cookies for at least 30 minutes in the fridge. This time allows the chocolate to harden fully, which is key to achieving that perfect shape. If you’re in a rush, even a short chill can work, but you might end up with a softer cookie that won't hold as well. Patience is key to deliciousness!
Indulge in Easy No Bake Avalanche Cookies Today!
Ingredients
Equipment
Method
- Begin by lining two baking sheets with parchment paper to prevent sticking.
- In a large mixing bowl, combine the crispy rice cereal and mini marshmallows.
- In a microwave-safe bowl or a double boiler, melt the white chocolate and peanut butter together over low heat.
- Once melted, pour the warm chocolate-peanut butter mixture over the cereal and marshmallow mix.
- Using a tablespoon, scoop out the mixture and drop mounds onto the parchment-lined baking sheets.
- Place the baking sheets in the refrigerator for about 30 minutes or until the cookies have fully set.


Leave a Reply