
Imagine the first crunch of a bright bell pepper, the sun shining in your kitchen as you transform simple ingredients into a feast for the senses. These vibrant 30-Minute Bell Pepper Nachos are not just a healthier alternative; they’re a colorful celebration of flavor that satisfies without the guilt of traditional nachos. With a base of crisp pepper "chips" ready to be loaded with savory, customizable toppings, this dish offers both versatility and quick prep—ideal for anyone craving a satisfying snack or light meal without the fuss. Whether you’re hosting a gathering or keeping it casual for movie night, you can cater to every preference, from meat-lovers to veggie enthusiasts. Ready to dive into this guilt-free indulgence and discover the endless topping possibilities? Let’s get started!
Why are these nachos a game-changer?
Colorful, Crunchy Base: Instead of traditional chips, we use fresh bell peppers, creating a nutritious and eye-catching foundation for a delightful dish. Customizable Options: Whether you're vegetarian, vegan, or a meat-lover, you can easily tailor these nachos with your favorite toppings. Quick Preparation: Ready in just 30 minutes, they’re perfect for busy weeknights or unexpected guests! Delicious Flavor Fusion: The savory meat and fresh veggies topped with gooey cheese deliver a flavor explosion. Guilt-Free Indulgence: Enjoy all the fun of nachos without the worry of excess carbs—these are a healthier twist that your taste buds will adore!
Bell Pepper Nachos Ingredients
For the Chips
- Bell Peppers – Crunchy base for chips; use any color for a vibrant presentation.
For the Meat Mixture
- Ground Beef or Turkey – Main protein providing flavor; swap with plant-based crumbles for a vegetarian option.
- Taco Seasoning – Adds depth and flavor to meat; opt for a homemade blend for lower sodium.
- Black Beans – Nutritional boost and texture; can replace with refried beans or chickpeas.
- Corn – Adds sweetness and color; substitute with diced tomatoes if needed.
- Sliced Jalapeños – Adds heat; omit if you prefer a milder taste or use pickled ones for tanginess.
For the Toppings
- Shredded Cheese – Provides a creamy texture; mix cheddar with Monterey Jack for best melt, or use dairy-free cheese for a vegan option.
- Fresh Cilantro – Brightens flavor and adds freshness; tap into your herb garden for extra flair.
- Avocado – Creamy addition and healthy fats; add just before serving to keep it fresh.
- Lime – Zesty finish; squeeze over nachos for an added zing.
- Salsa or Greek Yogurt – Enhance flavor and texture; customize based on your taste preferences.
These Bell Pepper Nachos provide a uniquely delicious twist on classic snacks, allowing you to indulge without the excess carbs!
Step‑by‑Step Instructions for Bell Pepper Nachos
Step 1: Preheat and Prepare
Begin by preheating your oven to 375°F (190°C) while you prepare your ingredients. Line a baking sheet with parchment paper to prevent sticking and make cleanup easy. This will ensure your Bell Pepper Nachos bake evenly and get that perfect crispy texture.
Step 2: Slice the Peppers
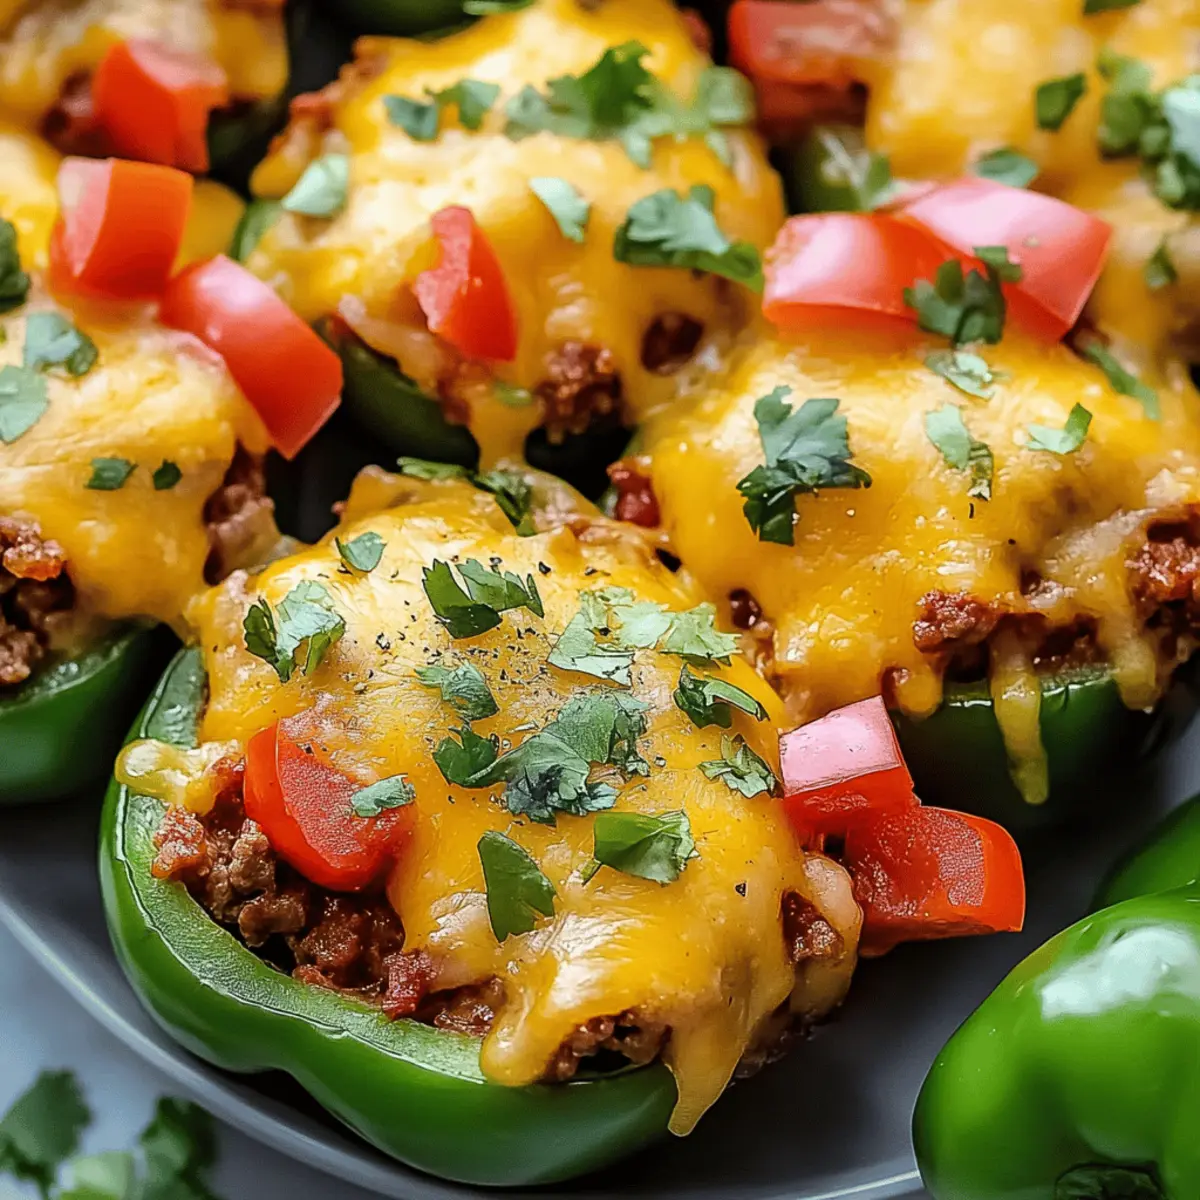
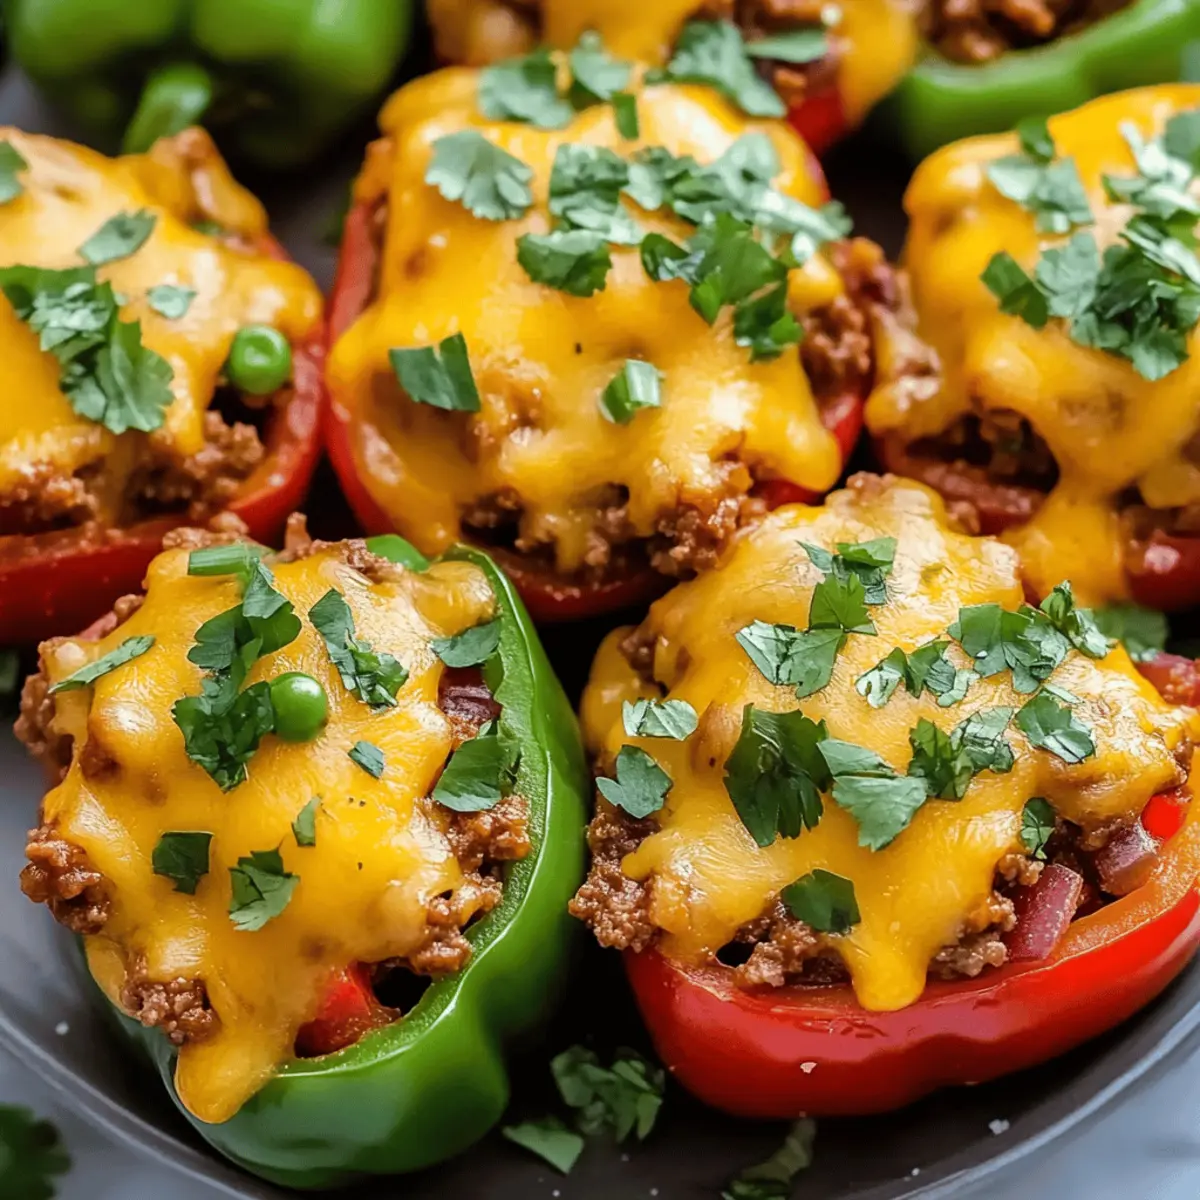
Core the bell peppers and slice them into thirds to create “chips.” Arrange the pepper slices cut-side up on the prepared baking sheet, ensuring they’re evenly spaced for optimal baking. This vibrant base will serve as the delicious foundation for your nachos, so feel free to mix and match colors for an eye-catching presentation.
Step 3: Cook the Meat
In a skillet over medium heat, add your ground beef or turkey. Cook until it’s browned, stirring occasionally, about 5-7 minutes. Add taco seasoning along with a splash of water, letting it simmer for an additional 3-4 minutes until the mixture thickens, imparting that rich flavor to your Bell Pepper Nachos.
Step 4: Add the Fillings
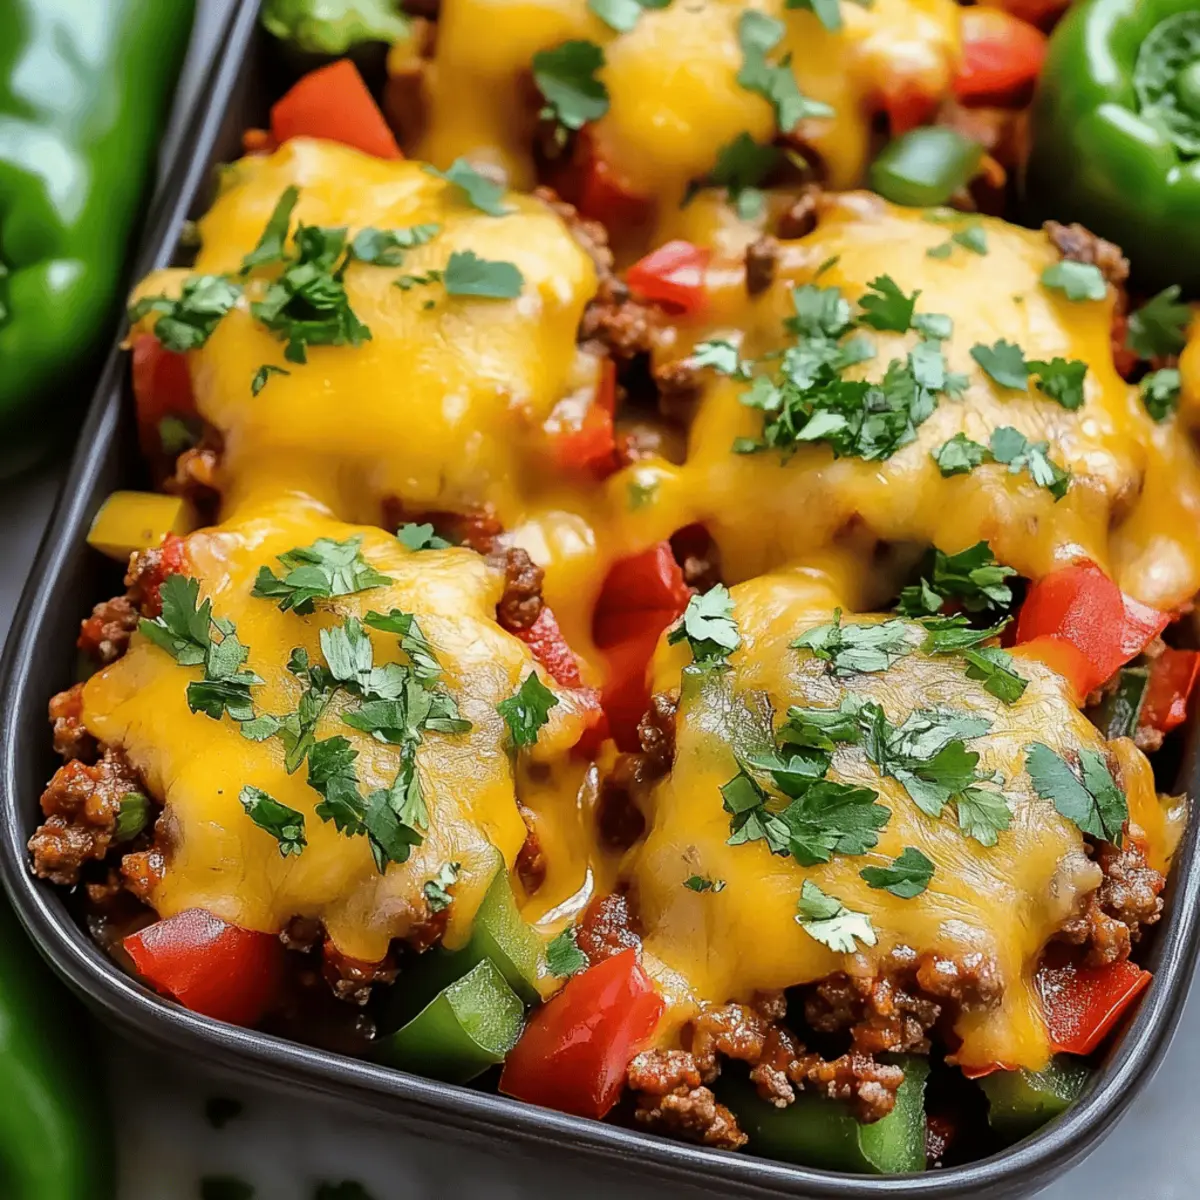
Once the meat is ready, stir in black beans, corn, and sliced jalapeños. Cook for another 2-3 minutes until the mixture is heated through. This colorful medley will provide both flavor and nutrition, making your nachos more satisfying while contributing to the vibrant look.
Step 5: Assemble the Nachos
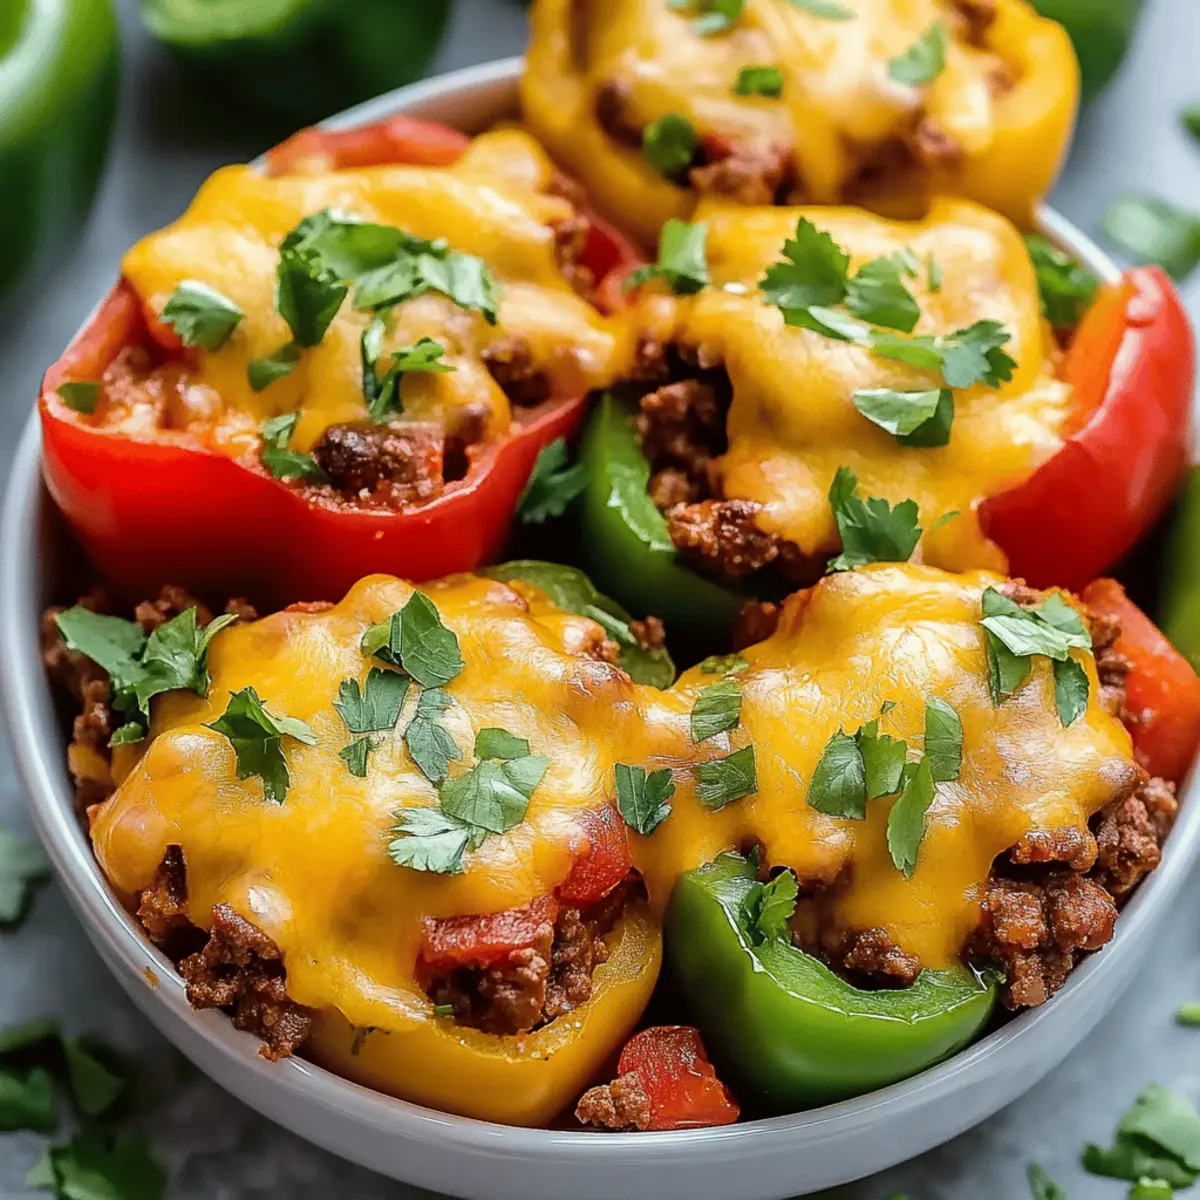
Spoon the warm meat mixture generously over the bell pepper slices, ensuring each piece receives a hearty topping. Then, sprinkle shredded cheese evenly across the top. The cheese should be mixed for the best melting effect, creating that classic gooeyness essential for successful nachos.
Step 6: Bake to Perfection
Place your loaded baking sheet in the preheated oven and bake for approximately 10 minutes. You'll know your Bell Pepper Nachos are ready when the cheese is melted and bubbly, creating an irresistible golden layer atop the colorful peppers.
Step 7: Garnish and Serve
Carefully remove the nachos from the oven. Garnish them with your choice of fresh cilantro, avocado, lime juice, and salsa. Serve immediately for the best flavor and texture, presenting a beautiful dish that invites everyone to dig in and enjoy this healthier twist on nachos!
Expert Tips for Bell Pepper Nachos
- Pat Dry: Always pat bell pepper slices dry before baking to ensure they maintain crispness and don’t become soggy.
- Even Cuts: Aim for uniform slices when cutting the peppers; this encourages even baking and topping distribution, enhancing overall flavor.
- Homemade Spice Blend: Consider making your own taco seasoning to control sodium levels and customize the flavor profile of your Bell Pepper Nachos.
- Cheese Choice: For optimal melting, shred your own cheese; combining cheeses like cheddar and Monterey Jack results in a deliciously gooey texture.
- Serve Fresh: Enjoy the nachos immediately after baking for a delightful crunch; avoid microwaving leftovers to prevent them from becoming soggy.
How to Store and Freeze Bell Pepper Nachos
Fridge: Store leftover Bell Pepper Nachos in an airtight container for up to 2 days. This helps maintain freshness and flavor.
Freezer: For longer storage, freeze the assembled nachos (without toppings) for up to 3 months. Wrap tightly in plastic wrap, then foil, to prevent freezer burn.
Reheating: When ready to enjoy, bake from frozen or thawed at 350°F for 10-15 minutes until heated through. This preserves the crispiness of the bell peppers.
Tip: Add fresh toppings like avocado or cilantro after reheating to elevate the flavor and presentation!
What to Serve with Bell Pepper Nachos
Elevate your dining experience by pairing these flavorful nachos with complementary sides that enhance their vibrant taste and texture.
- Guacamole: Smooth and creamy, guacamole adds a delightful contrast to the crunchy peppers and is perfect for dipping.
- Cabbage Slaw: A refreshing crunch with a hint of tang, this slaw complements the richness of the nachos while adding color to your plate.
- Salsa Fresca: Fresh and zesty, this vibrant salsa brightens each bite and intensifies the nachos’ flavor profile, making each nibble exciting.
- Chili Lime Corn: Sweet and spicy, this dish echoes the flavors of your nachos while offering a lively pop of sweetness and heat.
- Sparkling Lime Water: Crisp and refreshing, this drink cleanses the palate and keeps the summer vibes flowing during your meal.
- Margaritas: Celebrate with a classic margarita, as the citrusy zing pairs wonderfully with the savory elements, enhancing the festive atmosphere.
- Fruit Salad: A light, sweet contrast that can balance the savory nachos—opt for a mix of tropical fruits to keep things interesting.
- Yogurt Dip: A cool, creamy yogurt dip can offer a tangy touch while complementing the spiciness of the jalapeños on the nachos.
- Baked Sweet Potato Wedges: These provide a sweet, tender texture that complements the nachos and fills the table with colorful options.
Make Ahead Options
These Bell Pepper Nachos are perfect for meal prep enthusiasts looking to streamline their cooking process! You can slice the bell peppers and prepare the meat mixture up to 24 hours in advance. Simply core and cut the peppers, then store them in an airtight container in the fridge to keep them crisp. For the meat, cook it and add the taco seasoning, then let it cool before refrigerating. When you're ready to serve, just reheat the meat mixture in a skillet and assemble the nachos with the peppers and cheese, baking for about 10 minutes until hot and bubbly. This way, you'll enjoy delicious, personalized nachos without the wait!
Bell Pepper Nachos Variations & Substitutions
Explore the mouthwatering ways to make these Bell Pepper Nachos your own with exciting twists and healthy swaps.
- Vegetarian Delight: Use lentils or a mix of beans in place of meat for a hearty, protein-packed option.
- Vegan Transformation: Swap in plant-based cheese and skip the meat for a completely vegan version that still packs a flavor punch.
- Spicy Kick: Add diced fresh jalapeños or a sprinkle of cayenne pepper to the meat mix for an extra layer of heat.
- Creamy Avocado: Spread creamy avocado or guacamole over the top instead of cheese for a rich and satisfying alternative.
- Herb Infusion: Experiment with fresh herbs like basil, dill, or parsley to enhance freshness and add a unique scent with each bite.
- Crunchy Add-Ins: Toss in some crushed tortilla chips or pumpkin seeds for an extra crunch and textural variety.
- Zesty Citrus: Squeeze fresh lime juice over the assembled nachos before baking for a bright flavor that elevates every ingredient.
- Mild Flavor: Replace jalapeños with sweet bell pepper strips or omit them altogether for a smoother taste profile, perfect for family-friendly gatherings.
These variations not only cater to diverse tastes and dietary needs, but they also keep each batch of Bell Pepper Nachos fresh and exciting! Looking for more delicious ideas? Consider pairing your nachos with a zesty cabbage slaw or a scoop of refreshing guacamole.
Bell Pepper Nachos Recipe FAQs
How do I choose the best bell peppers for this recipe?
Absolutely! When selecting bell peppers, look for ones that are firm, with vibrant colors and no dark spots all over. The skin should be smooth, indicating freshness. I often prefer the sweeter red, yellow, or orange varieties, but green peppers also work great. If you want a unique twist, consider zucchini or eggplant as an alternative!
How should I store leftover Bell Pepper Nachos?
Very! After enjoying your delicious nachos, place any leftovers in an airtight container. They will stay fresh in the refrigerator for up to 2 days. When you’re ready to savor them again, just pop them in the oven at 350°F for about 5-7 minutes, which will help retain that delightful crunch!
Can I freeze my Bell Pepper Nachos?
Yes, indeed! To freeze your nachos, I recommend assembling them without any fresh toppings. Wrap the tray tightly with plastic wrap and then with foil to prevent freezer burn, and store them for up to 3 months. When it’s time to enjoy, bake from frozen or thaw first, baking at 350°F for about 10-15 minutes until heated through.
What if my nachos turn out soggy?
Don’t worry! If your nachos are soggy, it’s usually because the bell peppers weren’t dried properly prior to baking. Always pat them dry; this simple step helps you keep that vibrant crunch. Also, try to avoid overloading them with salsa until right before serving.
Are these nachos safe for my pet or someone with food allergies?
It's essential to check! While bell peppers are safe for dogs and many animals (in moderation), avoid toppings like onions or garlic, which are toxic. Always inquire about allergens before serving to others. For dairy allergies, remember that dairy-free cheese options are available and effectively substitute in this recipe, making it great for various dietary needs!
What are some alternative toppings for customizing my nachos?
The more the merrier! Experiment with toppings! Add olives, diced tomatoes, or fresh herbs like basil or parsley for a fun twist. You might also consider different cheeses or sauces—like a spicy sriracha or zesty Greek yogurt—as this increases the flavor dimension and personal touch to your Bell Pepper Nachos!
Delicious Bell Pepper Nachos That Will Wow Your Taste Buds
Ingredients
Equipment
Method
- Preheat your oven to 375°F (190°C) and line a baking sheet with parchment paper.
- Core the bell peppers and slice them into thirds to create ‘chips’. Arrange cut-side up on the baking sheet.
- In a skillet, cook ground beef or turkey until browned, about 5-7 minutes. Add taco seasoning and splash of water; simmer for 3-4 minutes.
- Stir in black beans, corn, and sliced jalapeños. Cook for another 2-3 minutes until heated through.
- Spoon the warm meat mixture over bell pepper slices and sprinkle shredded cheese on top.
- Bake for approximately 10 minutes, until cheese is melted and bubbly.
- Remove from oven, garnish with cilantro, avocado, lime juice, and salsa. Serve immediately.


Leave a Reply