
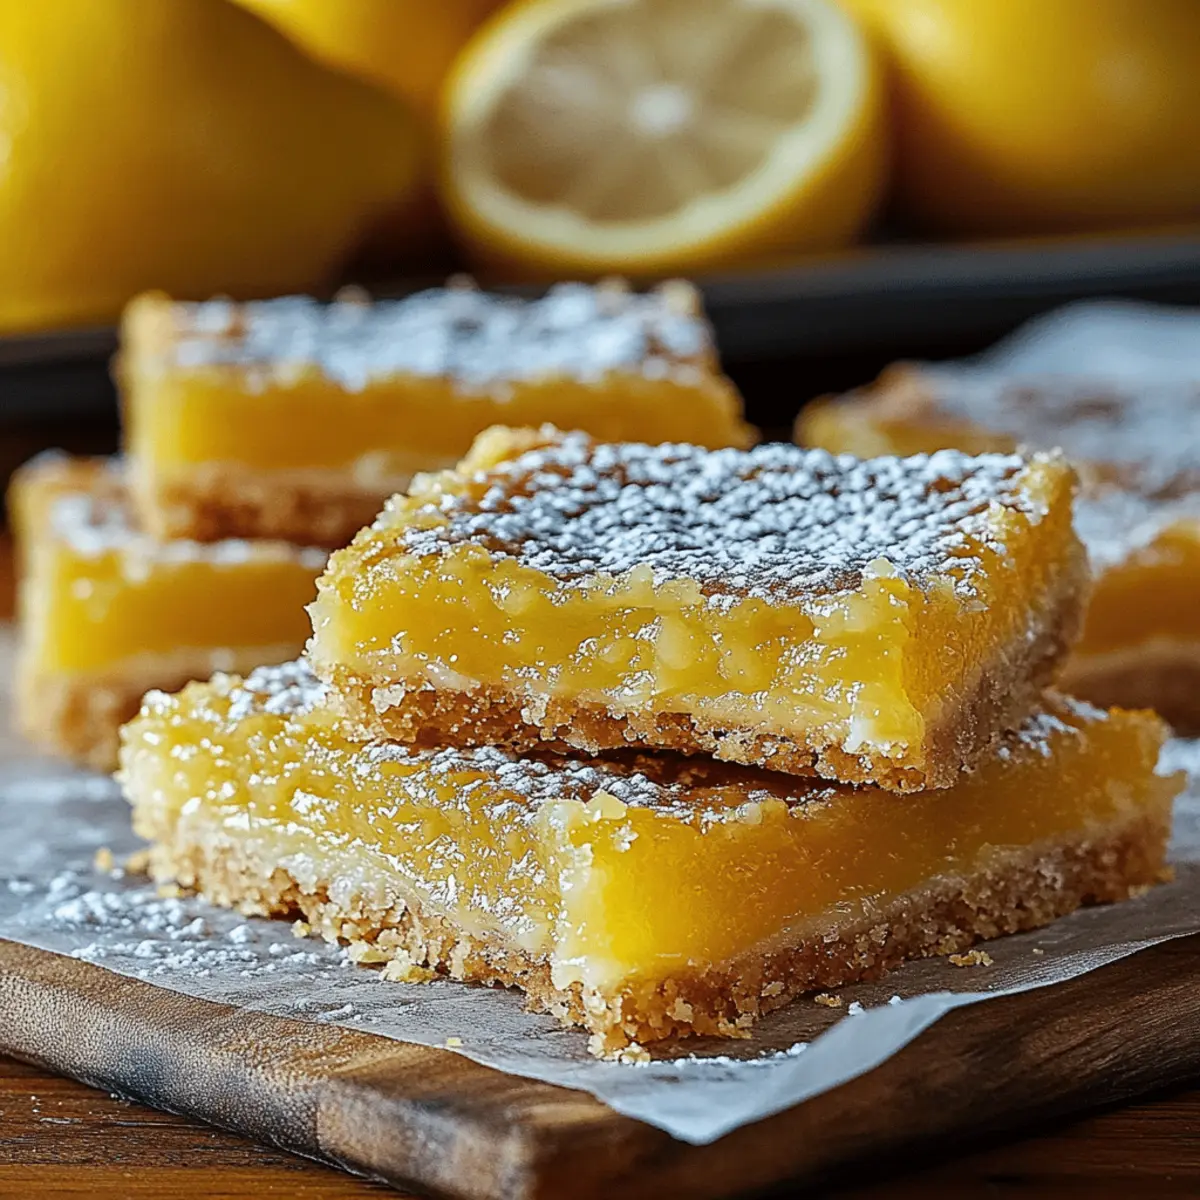
As I pulled the warm, golden bars from the oven, the cheerful scent of lemon filled my kitchen, instantly brightening my day. These Effortless Two-Ingredient Lemon Bars are my go-to dessert when time is tight, combining a light cake base with a tangy lemon filling. Not only are they delicious, but they also come together in under an hour, making them the perfect budget-friendly treat for any occasion. Whether you're a busy baker or someone simply seeking a quick sweet fix, these bars are a delightful crowd-pleaser that everyone will love. Plus, with variations that cater to gluten-free diets and alternative cake mix flavors, there's a twist for every palate. Ready to add a zesty touch to your baking repertoire? Let’s dive into the recipe!

What makes these lemon bars special?
Simplicity: With just two main ingredients, this recipe is as easy as it gets—perfect for bakers of any skill level.
Versatile: Enjoy classic lemon flavor or mix it up using different cake mix flavors or alternative pie fillings.
Diet-Friendly: Options for a gluten-free version ensure that everyone can join in on the fun, making these bars a hit for any gathering.
Quick to Make: Whip them up in under an hour, allowing you to satisfy that sweet tooth in no time!
Crowd-Pleaser: Their bright, zesty flavor and soft texture will leave your guests raving, whether at a party or just a cozy night in.
Lemon Bars Ingredients
• Discover what you need for these delightful treats!
For the Base
- Angel food or yellow cake mix – Provides the sweet and fluffy foundation; swap it for gluten-free cake mix for a dietary-friendly option.
For the Filling
- Lemon pie filling (15 oz) – Offers that signature tangy flavor and moisture; you can experiment with other pie fillings like cherry or blueberry for delicious variations.
Step‑by‑Step Instructions for Effortless Two-Ingredient Lemon Bars
Step 1: Preheat the Oven
Begin by preheating your oven to 350°F (175°C). While the oven warms up, grab a 9x13-inch baking dish and generously grease it with butter or cooking spray to prevent sticking. This step ensures that your lemon bars will bake evenly and release smoothly once cooled.
Step 2: Combine Ingredients
In a large mixing bowl, pour the entire box of angel food or yellow cake mix. Next, add the 15 oz of lemon pie filling to the bowl. Use a spatula to gently mix the ingredients together until just combined, forming a thick and gooey batter. Be careful not to overmix, as this can affect the fluffy texture of your lemon bars.
Step 3: Spread the Mixture
Once your batter is mixed, transfer it into the prepared baking dish. Using a spatula, carefully spread the mixture evenly across the bottom, pressing it down slightly to ensure even cooking. You want the surface to be smooth, so it bakes nicely and forms that delightful cake-like base for your lemon bars.
Step 4: Bake
Place the dish in your preheated oven and bake for 25-30 minutes. Keep an eye on the bars as they bake; you’ll know they’re done when the top is golden brown and a toothpick inserted in the center comes out clean. This is the moment when your kitchen will start to smell heavenly!
Step 5: Cool and Serve
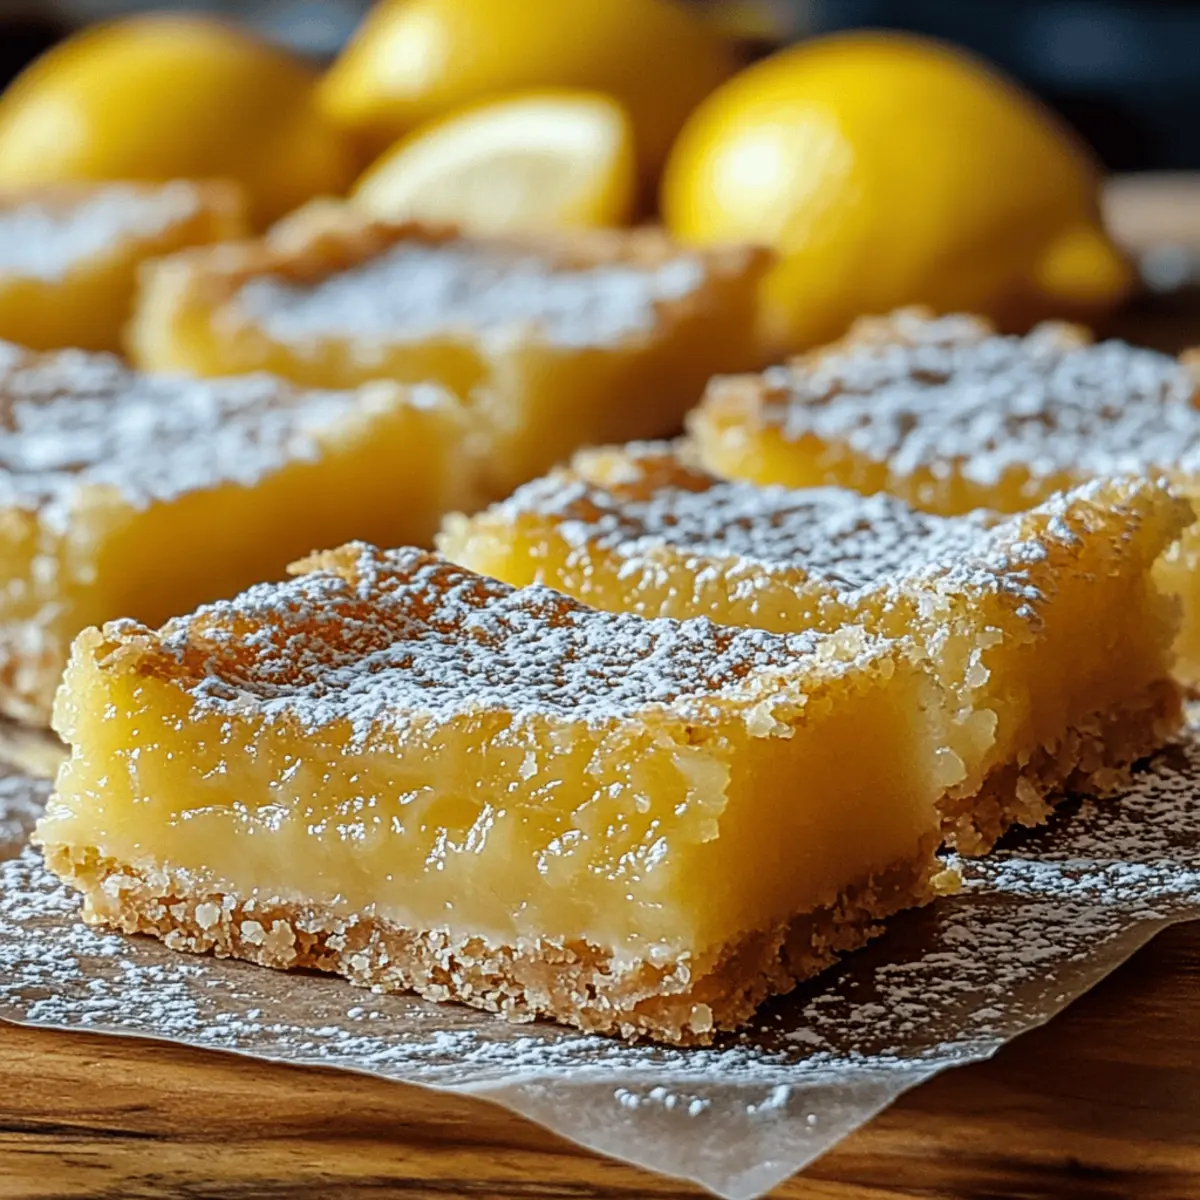
After baking, remove the dish from the oven and allow the lemon bars to cool completely in the pan. This cooling step is crucial for ensuring a clean cut. Once cooled, dust the top with powdered sugar if desired, slice into squares, and savor the bright citrus flavor of your Effortless Two-Ingredient Lemon Bars!
Storage Tips for Lemon Bars
Fridge: Store your lemon bars in an airtight container in the refrigerator for up to 5 days, helping maintain their freshness and flavor.
Freezer: For longer storage, individually wrap the bars tightly in plastic wrap or aluminum foil and freeze for up to 2 months. They’ll still taste fabulous when thawed!
Reheating: To enjoy them warm, reheat lemon bars in a preheated oven at 350°F (175°C) for about 5-10 minutes. This will bring back their delightful texture!
Serving Suggestions: Consider dusting with powdered sugar before serving or pairing with a dollop of whipped cream for an extra treat.
What to Serve with Effortless Two-Ingredient Lemon Bars
Brighten up your meal with these delightful desserts that complement the sweet tang of lemon bars beautifully.
-
Whipped Cream: A fluffy dollop on top adds creaminess that balances the zesty bars perfectly. It’s a classic pairing that never disappoints.
-
Fresh Berries: Strawberries and blueberries provide a burst of freshness and color, enhancing the citrus flavors while adding a refreshing pop to your plate.
-
Light Salad: A crisp arugula salad drizzled with a lemon vinaigrette complements the sweetness of the bars, creating a refreshing contrast that brightens the palate.
-
Herbal Iced Tea: Sip on a chilled herbal iced tea, like mint or chamomile, for a soothing drink that pairs well with the vibrant flavors of lemon.
-
Coconut Panna Cotta: This creamy dessert adds a smooth and subtly sweet contrast to the tangy lemon bars, making for an elegant, sophisticated pairing.
-
Chocolate Drizzle: Drizzle a touch of melted dark chocolate over your lemon bars for an indulgent twist. The richness of the chocolate highlights the citrus beautifully.
-
Fruit Sorbet: A scoop of tangy lemon or refreshing raspberry sorbet offers a light and fruity end to your meal, cleansing the palate after the rich sweetness of the bars.
-
Almond Biscotti: Enjoy with a crunchy almond biscotti for a flavorful contrast in texture, making every bite an enjoyable experience.
-
Sparkling Water: Enhance your dining experience with a glass of sparkling water infused with citrus slices. It’s refreshing and ties in beautifully with the lemony goodness.
Make Ahead Options
These Effortless Two-Ingredient Lemon Bars are perfect for meal prep! You can prepare the batter and store it up to 24 hours in advance; just mix the cake mix and lemon pie filling, then cover tightly and refrigerate. For optimal quality, make sure the bowl is airtight to prevent drying out. When you're ready to bake, simply pour the chilled mixture into your greased baking dish, smooth it out, and bake as directed. This way, you'll have delicious lemon bars ready to go with minimal effort on busy weeknights or for unexpected guests! Enjoy fresh, zesty flavors just as if they were made that day!
Lemon Bars Variations & Substitutions
Feel free to get creative and make these lemon bars your own with these fun twists and substitutions!
-
Gluten-Free: Use a gluten-free cake mix to ensure everyone can enjoy these tangy bars. It's an easy swap that won't compromise on taste!
-
Fruit Flavored: Swap out lemon pie filling with cherry or blueberry for a fruity twist. Each variation brings a unique sweetness and vibrant color to your dessert!
-
Zesty Upgrade: Add in some freshly grated lemon zest to the batter. This will intensify the citrus flavor and give your bars a delightful aroma.
-
Other Cake Mixes: Experiment with different cake mix flavors like spice or chocolate for an exciting base. The resulting bars can take on a whole new personality!
-
Nutty Crunch: Fold in some chopped nuts, like almonds or pecans, for a textural contrast and a delightful crunch with every bite. It’s a small adjustment that adds a satisfying surprise.
-
Frosting Finish: Top your cooled lemon bars with a light lemon glaze or cream cheese frosting. This extra layer of flavor enhances the overall experience and adds a creamy touch.
-
Spicy Heat: For the adventurous, mix in a pinch of cayenne pepper or finely chopped jalapeños to the batter. The heat beautifully contrasts the sweet and tangy flavors, creating an unforgettable dessert.
Why not explore these variations to find your perfect combination? Enjoy the endless possibilities and happy baking!
Expert Tips for Perfect Lemon Bars
-
Don’t Overmix: Mixing just until combined is crucial for fluffy, soft lemon bars. Overmixing can lead to a dense texture that isn’t as delightful.
-
Cooling Time: Allow the bars to cool completely before slicing. This helps avoid a gooey center and ensures clean cuts for serving.
-
Baking Time Watch: Ovens can vary, so check your bars at 25 minutes. Look for golden edges and a set center to prevent underbaking.
-
Alternatives Galore: Feel free to experiment with different cake mix flavors or pie fillings to craft unique lemon bars that suit your taste and dietary needs.
-
Storage Tips: Keep leftovers in an airtight container in the fridge for up to 5 days. They also freeze well for up to 2 months—great for on-demand sweet cravings!
Two-Ingredient Lemon Bars Recipe FAQs
How do I know when the lemon bars are ripe and ready?
Absolutely! You'll know the lemon bars are ready when the edges turn a lovely golden brown and the center is set. A toothpick inserted in the center should come out clean; if it’s too gooey, give them a few more minutes in the oven.
What’s the best way to store lemon bars?
For optimal freshness, store your lemon bars in an airtight container in the refrigerator for up to 5 days. This helps to retain the soft texture and zesty flavor we all adore!
Can I freeze my lemon bars for later?
Yes, you can! For freezing, wrap each bar tightly in plastic wrap or aluminum foil, and then place them into a freezer-safe bag. They will stay fresh for up to 2 months. When you’re ready to enjoy them, let them thaw in the fridge overnight, or pop them in a preheated oven at 350°F (175°C) for about 5-10 minutes to warm them up.
What should I do if my lemon bars are too gooey in the center?
Oh no, we don’t want that! If this happens, it’s likely because they were underbaked. Always check for doneness with a toothpick. For future baking, make sure to bake until the edges are golden and the center is set. If they are cool and still gooey, you can return them to the oven for an additional 5-10 minutes, keeping a close eye to prevent burning.
Can I use other flavors of cake mix and pie filling?
Very much! The beauty of these lemon bars lies in their versatility. Feel free to substitute with any cake mix flavor, such as spice or chocolate, and try different pie fillings like cherry or blueberry. Just keep the ratios the same to maintain that delightful texture!
Are these lemon bars suitable for gluten-free diets?
Yes! To make gluten-free lemon bars, simply swap the regular cake mix for a gluten-free cake mix. This way, everyone can indulge in their tangy sweetness without worry. Enjoy baking!

Delicious Lemon Bars: Easy Two-Ingredient Bliss at Home
Ingredients
Equipment
Method
- Preheat your oven to 350°F (175°C) and grease a 9x13-inch baking dish.
- In a large mixing bowl, combine the cake mix and lemon pie filling, mixing gently until just combined.
- Spread the batter evenly into the prepared baking dish.
- Bake for 25-30 minutes until golden brown and a toothpick comes out clean.
- Allow to cool completely in the pan before slicing and serving.
Leave a Reply