
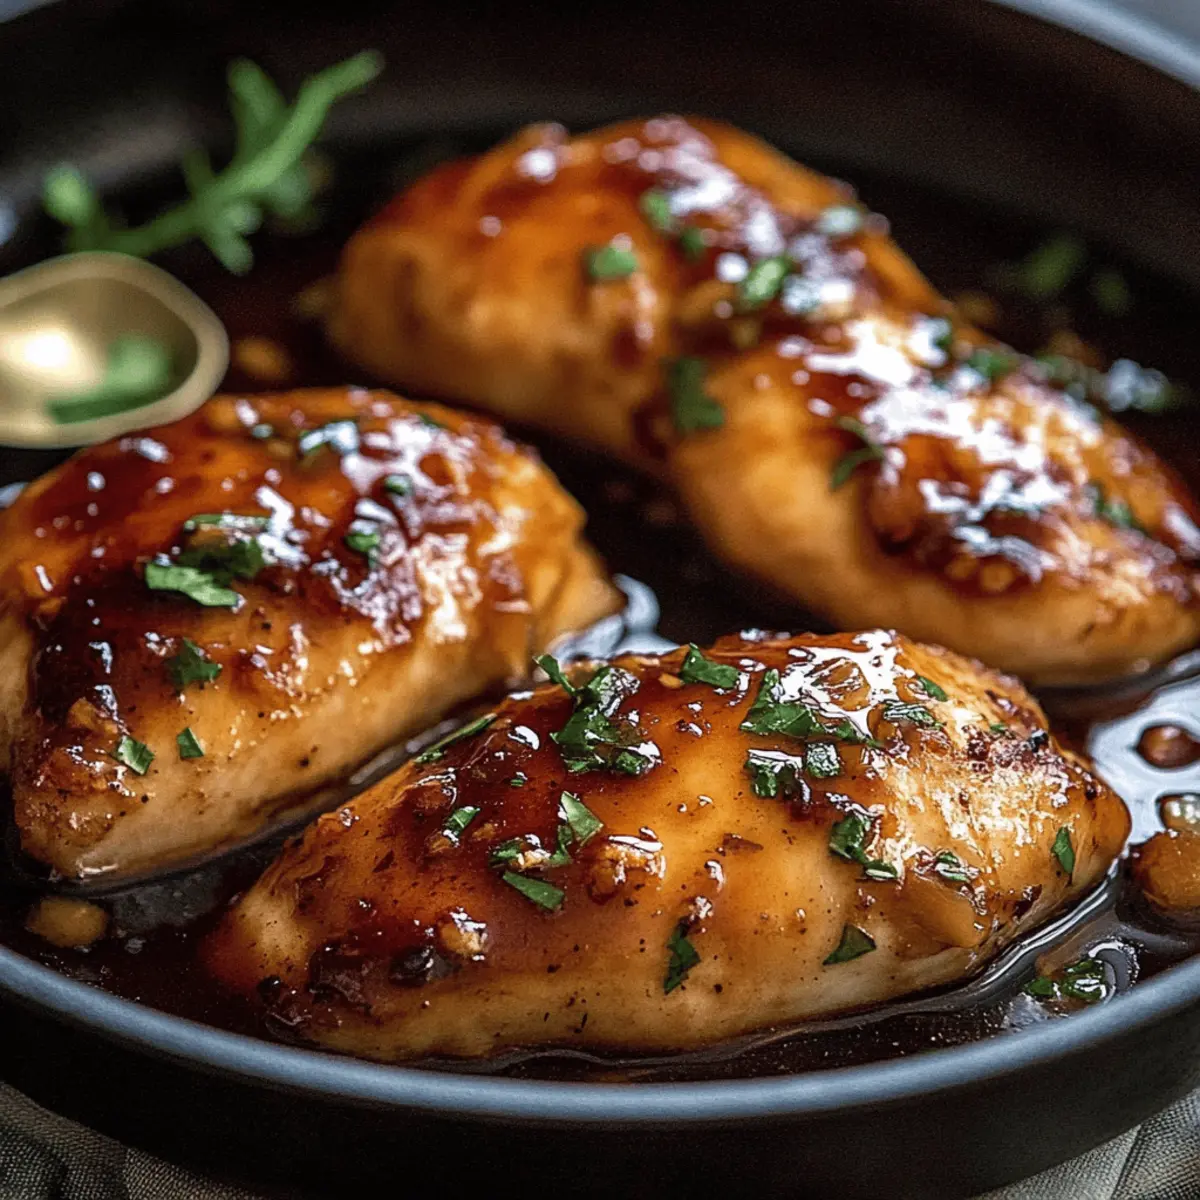
As I stood in my kitchen, the aroma of sizzling garlic mingled with sweet honey, transporting me to my favorite Asian bistro without leaving home. This Quick Honey Garlic Chicken Breast is your secret weapon for a scrumptious weeknight dinner, offering the joy of homemade cooking in just 12 minutes. With its rich, sticky sauce that easily marries sweet and savory notes, this dish not only satisfies your cravings but also saves time, proving that homemade meals don’t have to take hours. Plus, it's adaptable enough to cater to various dietary preferences, whether you're gluten-free or looking to incorporate more veggies into your meal. Ready to elevate your dining experience without any fuss? Let’s dive into this flavor-packed adventure!
Why is this Honey Garlic Chicken a Must-Try?
Speedy Preparation: This Honey Garlic Chicken Breast comes together in just 12 minutes, making it perfect for busy weeknights when you crave something delicious.
Customization Galore: With simple swaps like chicken thighs or adding fresh veggies, you can easily adjust this dish to suit your taste and dietary needs.
Flavor Fusion: The sweet honey and aromatic garlic create a jaw-dropping glaze that's better than takeout, ensuring everyone at the table will be asking for seconds!
Crowd-Pleasing: Whether you're cooking for family or entertaining friends, this dish garners compliments every time, transforming any meal into something special.
Easy Cleanup: Plus, this is a one-pan recipe, meaning less dishwashing and more time spent enjoying your delightful creation! Turn it into a complete meal by serving it over rice or alongside a fresh salad for a balanced dinner experience.
Honey Garlic Chicken Breast Ingredients
• Gather everything you need for this delightful dish!
For the Chicken
- Chicken Breasts – The main component for a tender, juicy meal; consider chicken thighs for extra moisture.
- Flour – Essential for a light, crispy coating; swap with gluten-free flour or cornstarch if needed.
For the Sauce
- Butter – Adds richness and aids in browning; choose unsalted for better seasoning control.
- Garlic – Fresh cloves provide the best aromatic depth for this sauce.
- Apple Cider Vinegar – Balances sweetness, enhancing flavors with its tangy profile.
- Soy Sauce – Introduces umami and depth; opt for low-sodium for a healthier touch.
- Honey – The star of the show, bringing sweetness and a wonderful glaze quality that makes the Honey Garlic Chicken Breast shine!
Feel free to customize the ingredients to make this dish your own!
Step‑by‑Step Instructions for Honey Garlic Chicken Breast
Step 1: Prep Chicken
Start by slicing the chicken breasts horizontally to create thinner steaks, which ensures even cooking and tenderness. Season both sides generously with salt and pepper to enhance the flavor. Set the chicken aside and allow it to absorb the seasoning while you prepare the next steps.
Step 2: Coat Chicken
On a large plate, sprinkle some flour evenly to create a light coating for the chicken. Dredge each chicken piece in the flour, ensuring a thin yet even layer. Shake off any excess flour, as this will help achieve a crispy crust while cooking the Honey Garlic Chicken Breast.
Step 3: Cook Chicken
Heat a skillet over medium-high heat and add a tablespoon of butter, allowing it to melt and bubble. Carefully place the coated chicken in the skillet, searing for about 2–3 minutes on each side until golden brown. Keep an eye on the chicken to ensure it's cooked through but remains juicy; a nice golden hue will signify it's ready for the next step.
Step 4: Add Garlic
Once the chicken is perfectly seared, create a space in the center of the skillet and add minced garlic. Sauté the garlic for about 30 seconds, stirring frequently, until it becomes fragrant and starts to turn golden. This will infuse the dish with a lovely aromatic depth that pairs beautifully with the chicken.
Step 5: Prepare Sauce
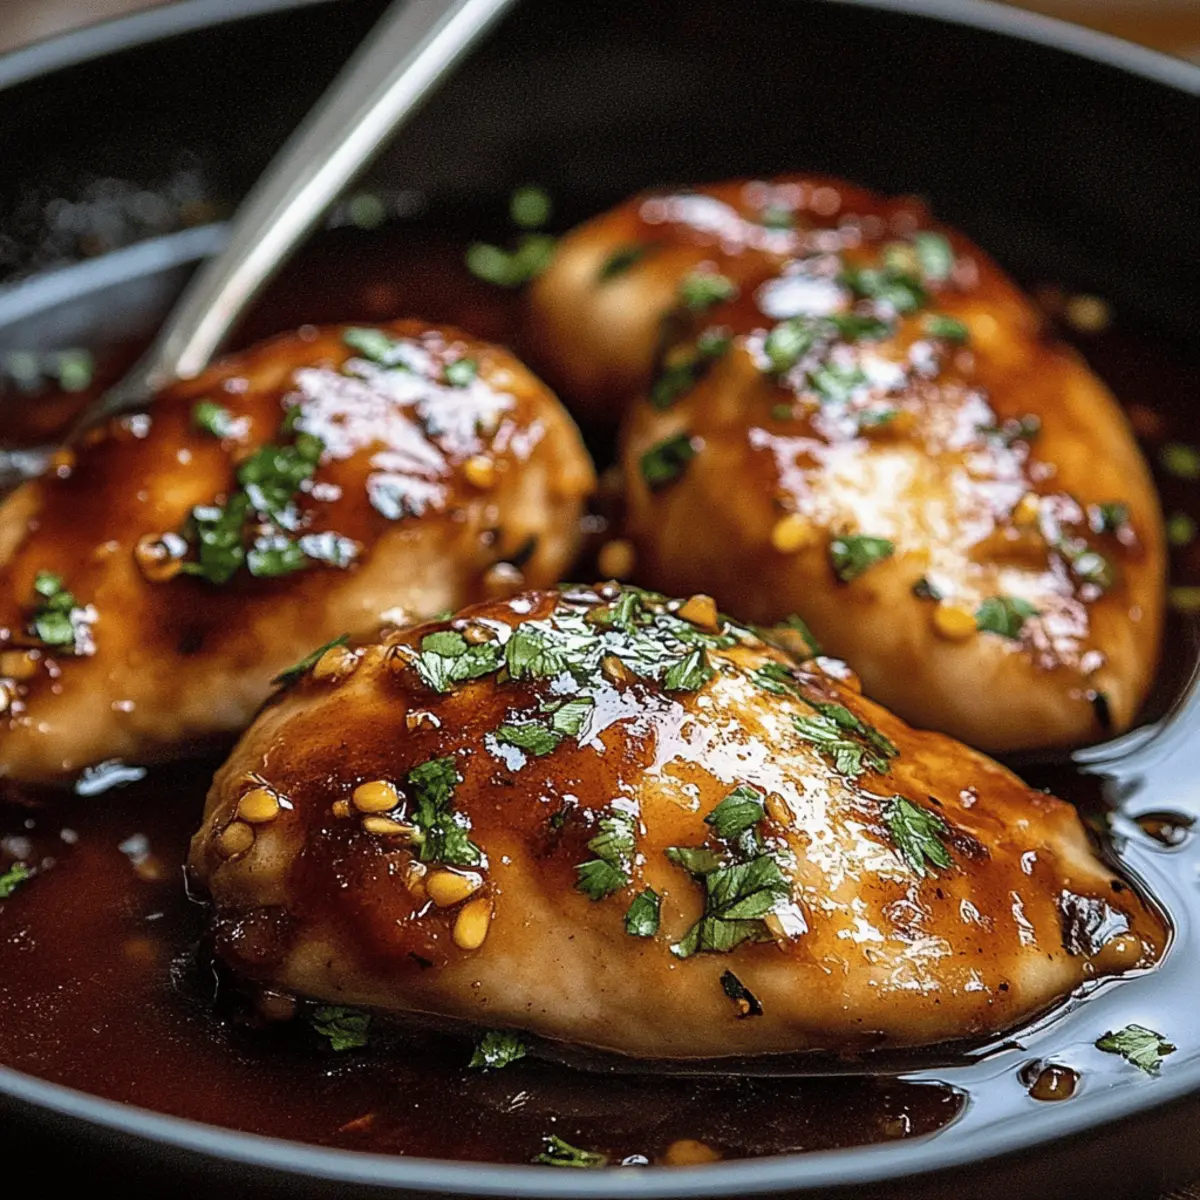
Pour in the apple cider vinegar, soy sauce, and honey directly into the skillet. Stir to combine the ingredients, scraping up any delicious browned bits. Allow the mixture to simmer for about a minute, watching it thicken slightly into a sticky and flavorful sauce that will coat your Honey Garlic Chicken Breast beautifully.
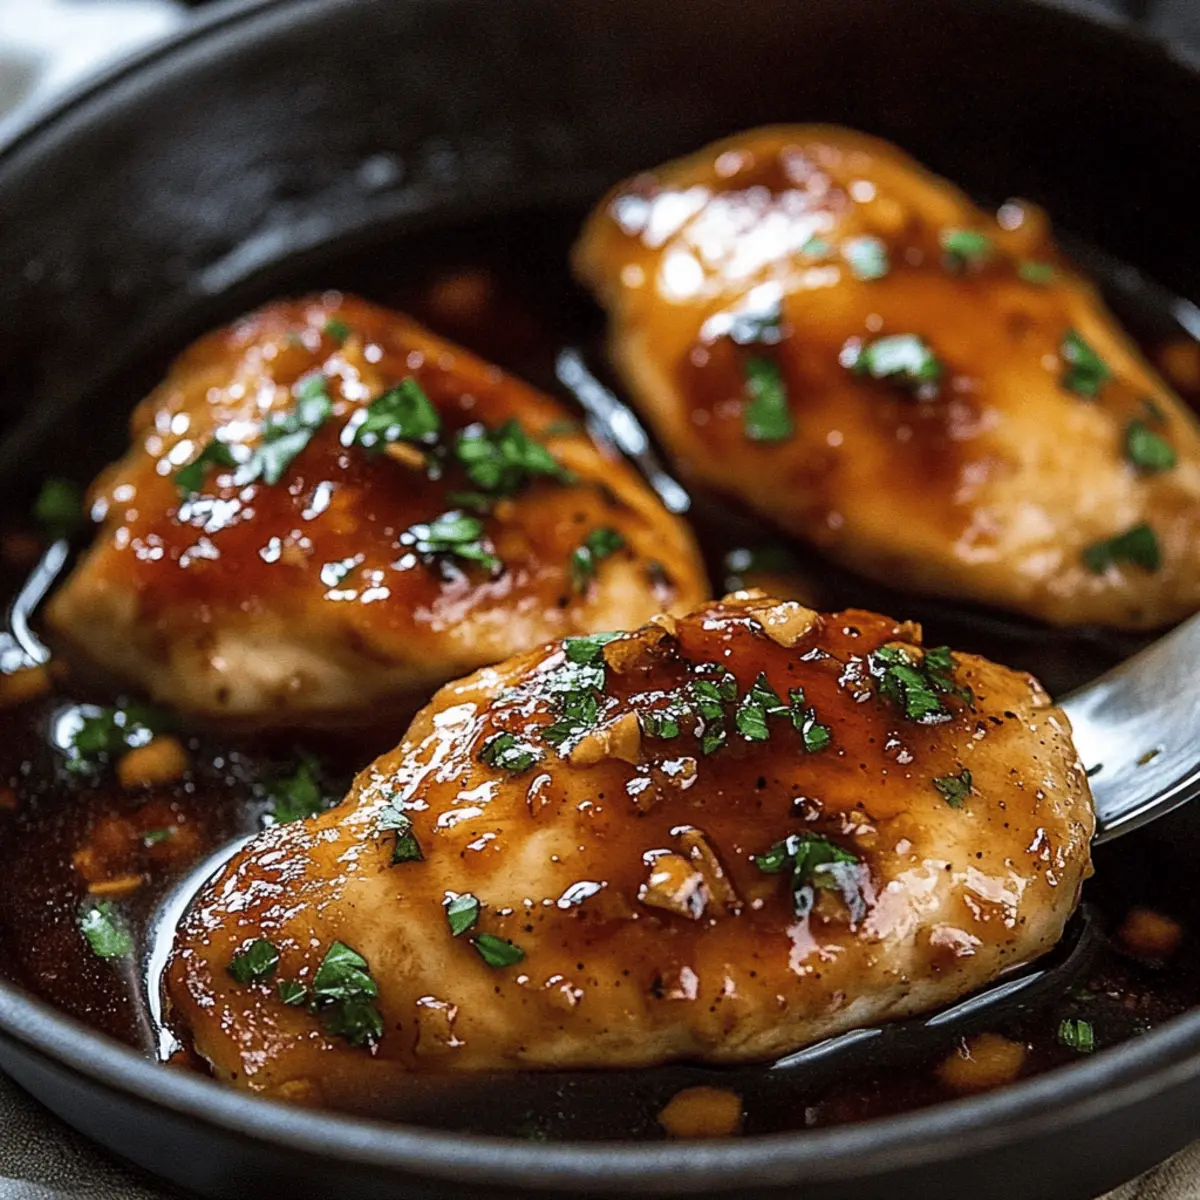
Step 6: Glaze Chicken
Return the seared chicken to the skillet, allowing it to soak up the sauce. Coat each piece well, adjusting the consistency with a splash of water if necessary to achieve your desired glaze thickness. Once everything is well combined, remove the skillet from heat to keep the chicken tender and juicy, ensuring it doesn't overcook in the heat.
Honey Garlic Chicken Breast Variations
Ready to make this dish uniquely yours? Feel free to explore these delicious twists and substitutions!
-
Chicken Thighs: Use thighs instead of breasts for a juicier, more flavorful option that’s always a hit. The extra moisture keeps each bite tender and delectable.
-
Gluten-Free Flour: Swap traditional flour for gluten-free flour or cornstarch, ensuring everyone at the table can enjoy this meal without worry. This simple change maintains the crispiness you love!
-
Maple Syrup: For an alternative sweetener, substitute honey with maple syrup. It adds a delightful twist and pairs beautifully with the garlic and vinegar.
-
Extra Veggies: Toss in colorful bell peppers, broccoli, or snap peas during cooking to create a vibrant one-pan meal. Not only do they infuse more nutrients, but they also add a beautiful pop of color.
-
Spice it Up: If you enjoy a little heat, sprinkle in some red pepper flakes or minced chili peppers while cooking the garlic. This gives your glaze an exciting kick!
-
Soy Sauce Alternatives: Use coconut aminos or tamari for a soy-free option while still enjoying that savory depth. It’s perfect for those watching their soy intake.
-
Sesame Oil Finish: Drizzle some toasted sesame oil over the finished dish for an aromatic finish and rich flavor. Just a little goes a long way!
-
Serving Suggestions: Serve the chicken over a fluffy bed of jasmine rice or creamy mashed potatoes for a comforting meal that soaks up that delicious sauce. Pair it with a side salad for a light balance that feels oh-so-refreshing!
Each variation is a chance to create something uniquely special that your family will love, proving that home cooking can be both flexible and flavorful. Happy cooking!
Make Ahead Options
These Honey Garlic Chicken Breasts are perfect for meal prep enthusiasts looking to save time on busy weeknights! You can season and coat the chicken up to 24 hours in advance, keeping it refrigerated so the flavors meld wonderfully. Additionally, prepare the sauce ahead of time and store it in an airtight container in the fridge for up to 3 days; this not only allows the flavors to develop but ensures you can whip up dinner in no time. When ready to cook, simply follow the steps to sear the chicken and glaze it with the prepared sauce. Your dish will be just as delicious and ready to enjoy with minimal fuss!
Expert Tips for Honey Garlic Chicken Breast
-
Avoid Overcooking: Keep an eye on the chicken while it’s searing. Overcooking can lead to dry pieces, so cook just until golden and juicy.
-
Fresh Ingredients Matter: Use fresh garlic and high-quality honey for a richer flavor. Fresh garlic has a more potent aroma that elevates the dish.
-
Customize Your Sauce: If the sauce thickens too much, add a splash of water or low-sodium soy sauce right before glazing the chicken. This keeps the Honey Garlic Chicken Breast blissfully juicy.
-
Pan Space: When sautéing the garlic, make space in the pan to prevent it from burning. Garlic should become fragrant, not charred.
-
One-Pan Wonder: To maintain the one-pan ease, consider adding vegetables like bell peppers or broccoli during the cooking stage for a complete meal.
What to Serve with Honey Garlic Chicken Breast
Transform your weeknight dinner with delightful accompaniments that elevate your Honey Garlic Chicken Breast to new heights.
-
Jasmine Rice: This fragrant rice absorbs the sticky sauce perfectly, enhancing every bite with its soft texture and subtle flavor.
-
Creamy Mashed Potatoes: A rich and buttery base that complements the sweetness of the chicken, providing a comforting contrast to the glaze.
-
Roasted Broccoli: Its slight crispness and vibrant green color not only add nutritional value but also balance the richness of the chicken.
-
Quinoa Salad: This nutty, fluffy side offers a healthy option loaded with protein, and the colorful veggies brighten up your plate.
-
Fresh Garden Salad: Crisp greens with a zesty vinaigrette provide a refreshing crunch that contrasts beautifully with the rich flavors of the chicken.
-
Sauteed Green Beans: These tender yet crunchy beans add a vibrant touch and a slight snap, enhancing the overall eating experience.
Each of these options brings a unique flavor and texture, making sure your meal feels complete and satisfying. Enjoy creating a wonderful dining experience that’s sure to impress family and friends!
Storage Tips for Honey Garlic Chicken Breast
-
Fridge: Store leftover Honey Garlic Chicken Breast in an airtight container for up to 3 days. Make sure to cool the chicken to room temperature before sealing to preserve its juicy texture.
-
Freezer: For longer storage, transfer cooled chicken and sauce to freezer-safe bags. The dish can be frozen for up to 2 months; just label each bag with the date for easy tracking.
-
Reheating: When ready to enjoy again, gently reheat the chicken in a skillet over medium-low heat, adding a splash of water to maintain moisture. Avoid using high heat to prevent drying out the chicken.
Honey Garlic Chicken Breast Recipe FAQs
How do I select the best chicken breasts for this recipe?
Absolutely! When selecting chicken breasts, look for cuts that are plump and pale pink, avoiding any that have dark spots or visibly dried edges. Fresh chicken should have a slight sheen and no unpleasant odor. If you prefer juicier meat, consider using chicken thighs instead; they are typically more forgiving and packed with flavor.
How should I store leftover Honey Garlic Chicken Breast?
Store leftover Honey Garlic Chicken Breast in an airtight container for up to 3 days in the fridge. Make sure the chicken cools to room temperature before sealing to help retain its juicy texture. To keep it fresh and tasty, label the container with the date so you can use it within the recommended timeframe.
Can I freeze Honey Garlic Chicken Breast?
Yes, you can! To freeze Honey Garlic Chicken Breast, allow it to cool completely first. Then, transfer the chicken and sauce to freezer-safe bags, removing as much air as possible before sealing. It can be frozen for up to 2 months. When you're ready to enjoy it again, defrost in the fridge overnight, then reheat gently in a skillet with a splash of water to keep it moist.
What do I do if the sauce thickens too much?
If you find that your sauce thickens more than you'd like while cooking, don’t worry—this is a common issue! Simply add a splash of water or low-sodium soy sauce and stir well. Do this gradually, so you can reach the perfect consistency without diluting the flavor too much. This simple step will help keep your Honey Garlic Chicken Breast blissfully juicy!
Can this recipe accommodate dietary restrictions?
Very! You can easily modify this recipe to accommodate various dietary restrictions. For a gluten-free option, substitute regular flour with gluten-free flour or cornstarch. If you're watching your sodium intake, opt for low-sodium soy sauce and season the chicken accordingly. Additionally, feel free to add veggies like bell peppers or broccoli to increase the nutritional content while adding vibrant color to your plate!
Is it safe to reheat the chicken?
Absolutely! To reheat your Honey Garlic Chicken Breast safely, gently warm it in a skillet over medium-low heat. Adding a splash of water can help maintain the moisture and prevent the chicken from drying out. Avoid high heat, as this can lead to overcooked, dry pieces. Enjoy your delicious leftovers!
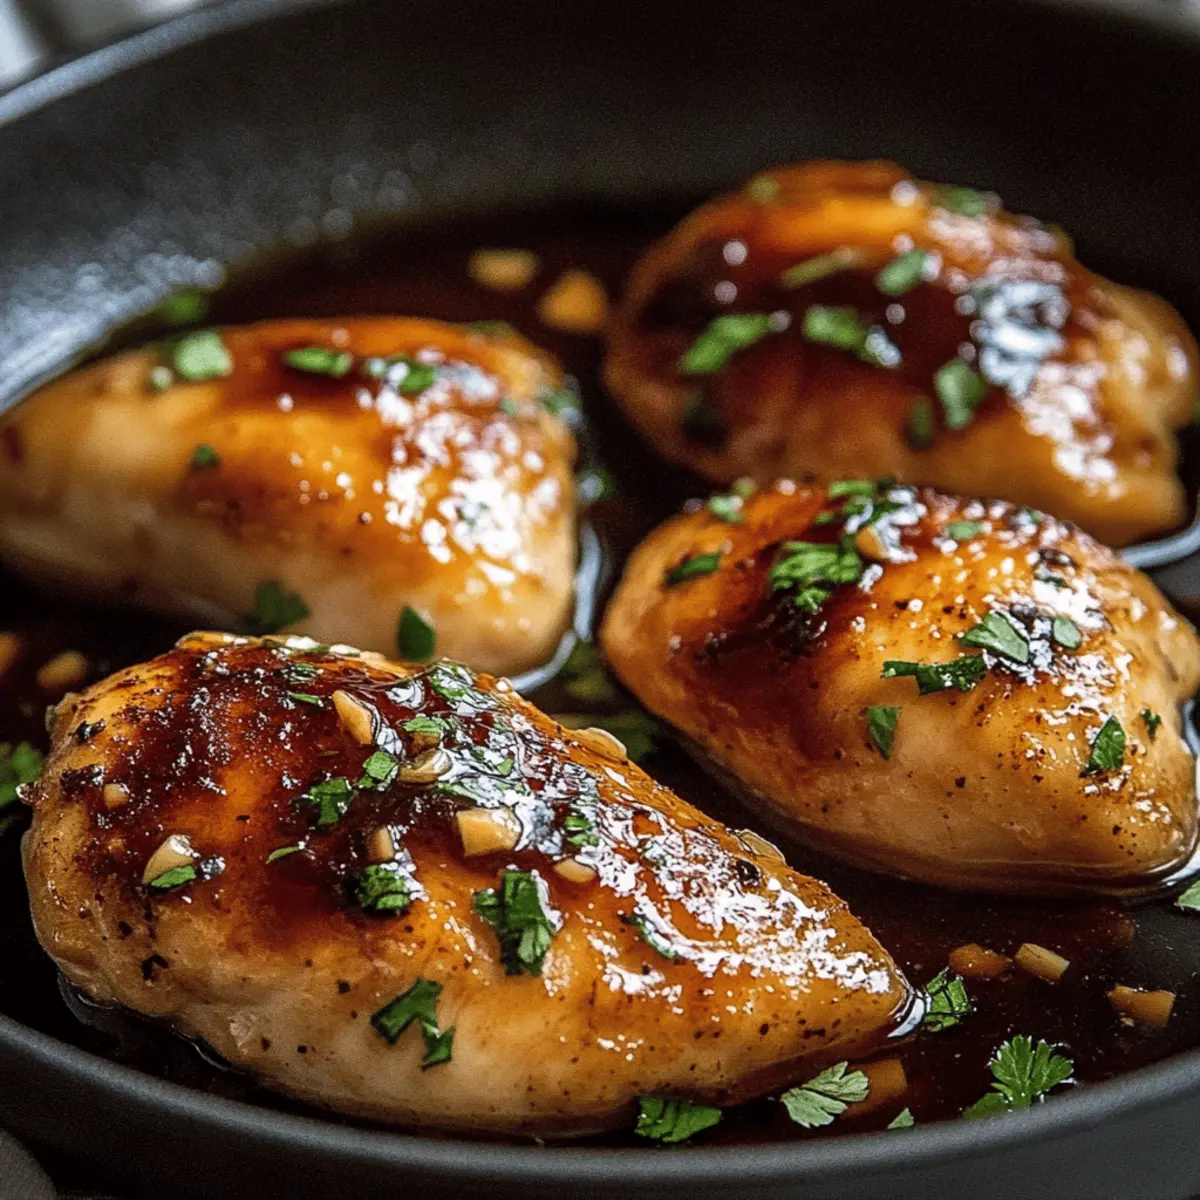
Juicy Honey Garlic Chicken Breast Ready in Just 12 Minutes
Ingredients
Equipment
Method
- Start by slicing the chicken breasts horizontally to create thinner steaks. Season both sides with salt and pepper.
- On a large plate, sprinkle some flour evenly. Dredge each chicken piece in flour and shake off excess.
- Heat a skillet over medium-high heat and add butter. Place the coated chicken in the skillet, searing for 2–3 minutes on each side until golden brown.
- Create a space in the skillet and add minced garlic. Sauté for 30 seconds until fragrant.
- Pour in the apple cider vinegar, soy sauce, and honey. Stir to combine, scraping up browned bits, and allow to simmer for about a minute.
- Return the seared chicken to the skillet, coat it well with the sauce, and adjust the consistency with a splash of water if necessary.
Leave a Reply