
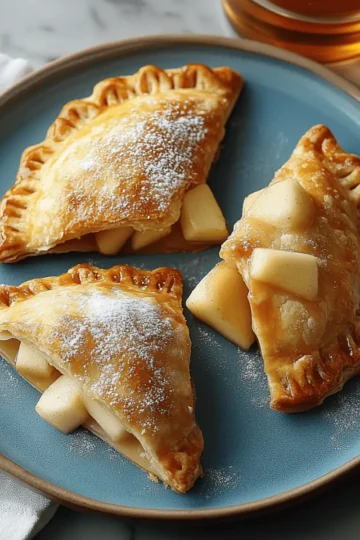
As autumn paints the world in warm hues, I can’t help but be transported to my kitchen, where the scent of spiced apples fills the air. There’s something uniquely special about homemade desserts, and this Cozy Apple Butter Pie is no exception. With its buttery, flaky crust enveloping a creamy apple butter filling, this pie is not only a crowd-pleaser but also incredibly adaptable for those pursuing gluten-free options. As the crunchy oat topping bakes to perfection, you’ll find yourself eagerly awaiting the first slice. This dessert is perfect for chilly evenings and festive gatherings, making it a delightful end to any meal. Ready to create the best Apple Butter Pie of your life? Let's dive in!
Why is Apple Butter Pie a Must-Try?
Warm, Cozy Dessert: This pie embodies the essence of autumn with comforting spices and rich flavors that wrap you in a warm embrace.
Quick and Easy: Even novice bakers will find the straightforward method a breeze, making it a perfect weekend baking project.
Adaptable for All: Want gluten-free? Simply swap out the flour for a gluten-free option, ensuring everyone can indulge in this delicious treat.
Crowd-Pleasing Flavor: Your family and friends will be begging for seconds, and you might just become known as the dessert queen or king!
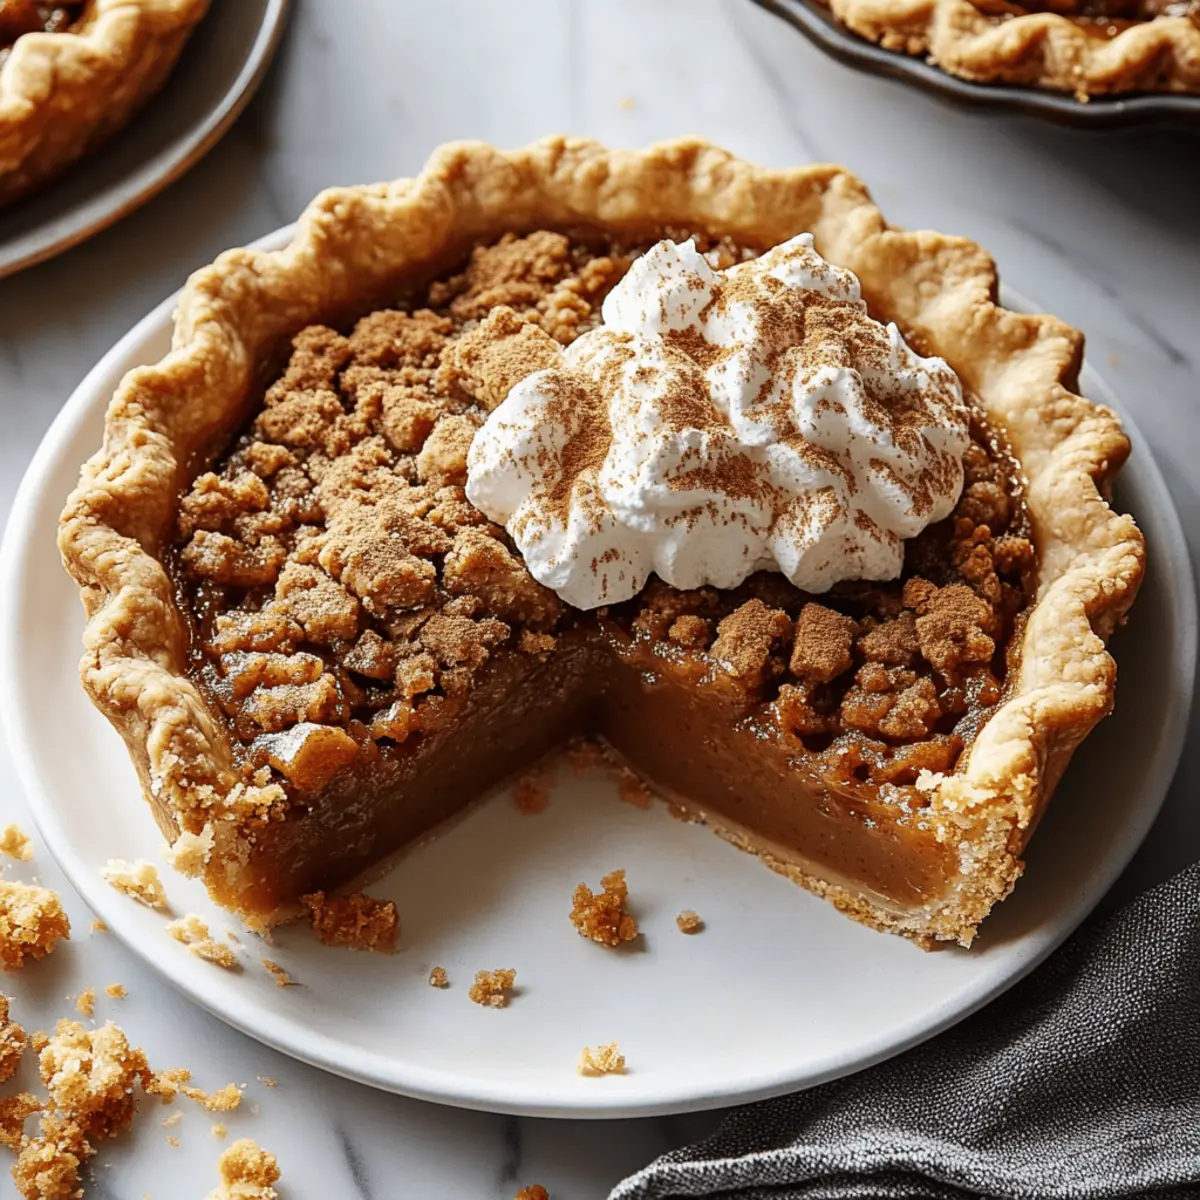
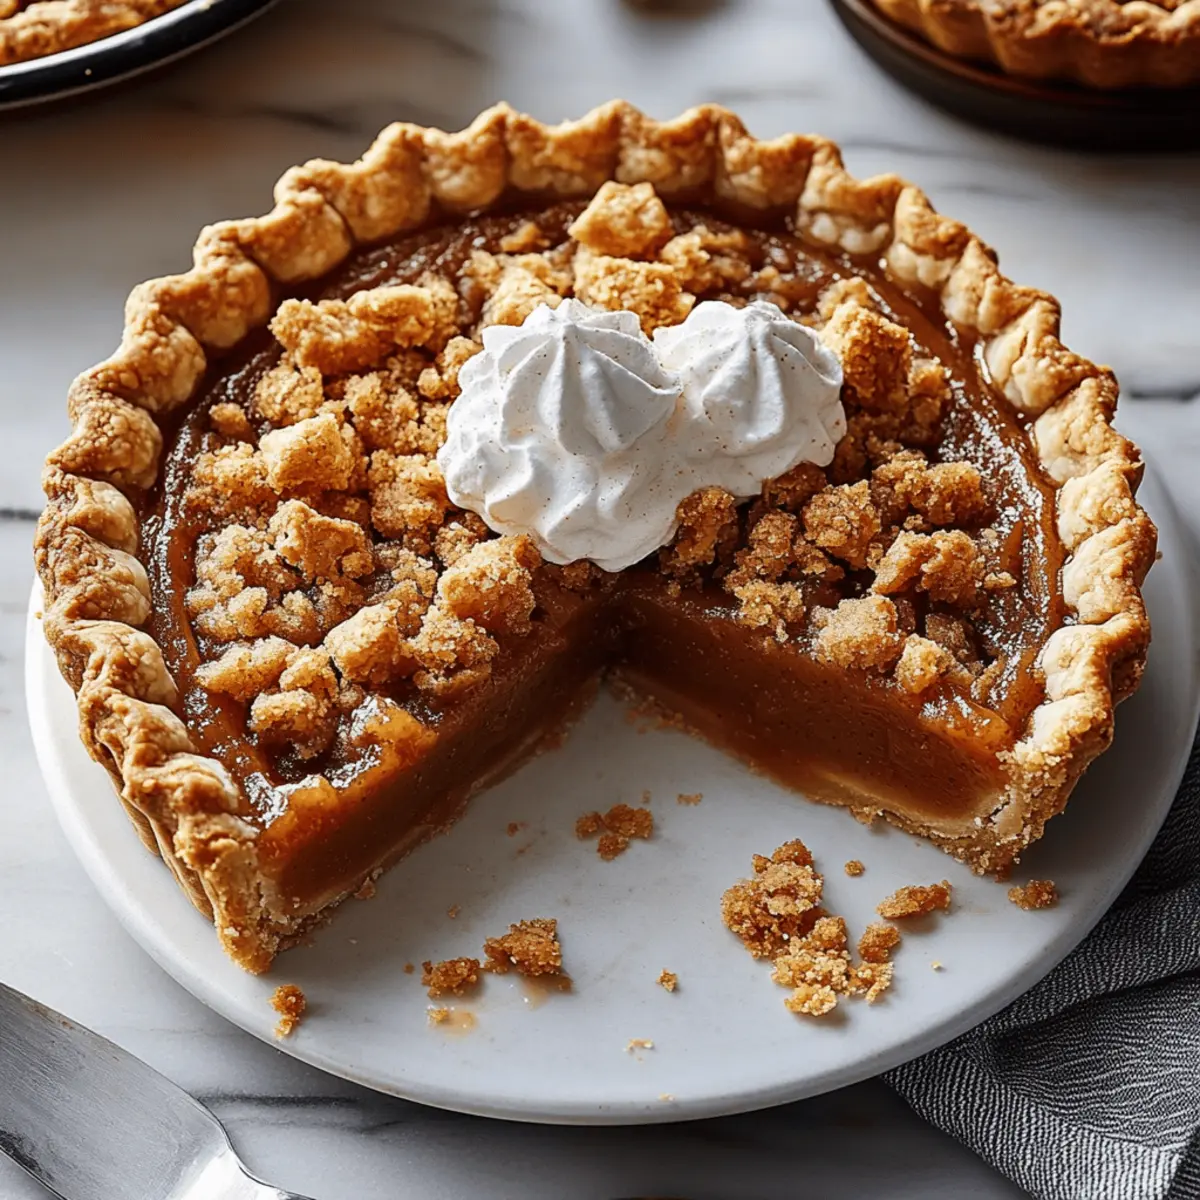
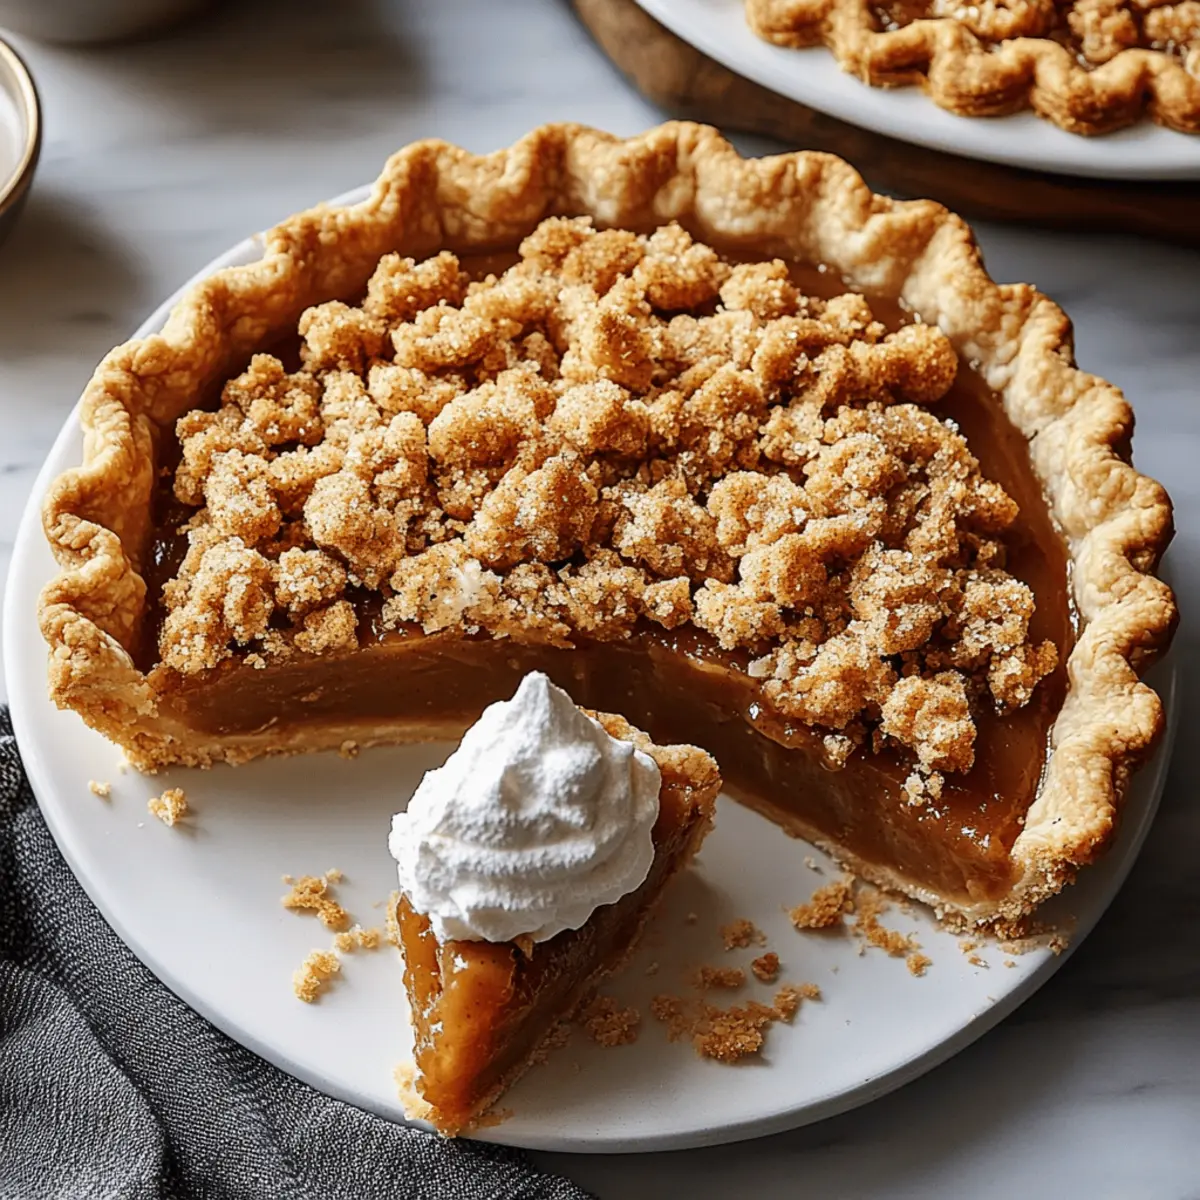
Perfect Textural Harmony: The creamy filling pairs beautifully with the crunchy oat topping, offering a delightful contrast in every bite. Don’t forget to serve it with a dollop of whipped cream—it's the cherry on top of this cozy dessert!
Apple Butter Pie Ingredients
For the Crust
• Flour – Provides structure for a flaky crust; substitute with a gluten-free blend if needed.
• Sugar – Adds sweetness and helps caramelize the crust; brown sugar for richer flavor is a lovely option.
• Salt – Enhances sweetness and balances all flavors for a delectable experience.
• Butter – Creates a flaky texture; always use cold butter for best results, or opt for vegan butter for a dairy-free version.
• Cold Water – Hydrates the dough; using ice-cold water ensures a flaky crust.
• Apple Cider Vinegar – Helps tenderize the crust; can be replaced with a splash of lemon juice.
For the Filling
• Apple Butter – The star of the show, delivering rich apple flavor; homemade or quality store-bought works wonders.
• Sweetened Condensed Milk – Adds a creamy element; substitute with evaporated milk if preferred.
• Eggs – Helps set the filling; flax eggs can be used for a vegan alternative.
• Vanilla Extract – Elevates flavor; pure vanilla extract is the best choice.
• Cinnamon, Nutmeg, Cloves – These essential spices bring that cozy vibe; adjust according to your taste preference.
For the Topping
• Oats – Creates a crunchy topping; rolled or quick oats work well; consider adding nuts for extra texture!
• Brown Sugar – Sweet and rich; can complement the oats beautifully in the topping.
• Flour – Keeps the topping cohesive; use all-purpose or a gluten-free variety.
• Cold Butter – Works into the topping mixture to create that irresistible crumbly texture; keep it nice and cold!
This cozy Apple Butter Pie is all about rich flavors and warm, comforting aromas—perfect for your autumn gatherings!
Step‑by‑Step Instructions for Apple Butter Pie
Step 1: Prepare the Crust
In a large mixing bowl, combine flour, sugar, and salt. Cut in cold butter using a pastry cutter until the mixture resembles walnut halves. Gradually add in cold water and apple cider vinegar, mixing until the dough just comes together. Shape the dough into a disc, wrap it in plastic wrap, and refrigerate for 2 hours to ensure a flaky Apple Butter Pie crust.
Step 2: Pre-Bake Crust
Once chilled, roll out the dough on a floured surface into a large circle. Transfer it to a pie plate, pressing gently into the bottom and sides. Refrigerate the crust for 10 minutes, then preheat your oven to 400°F. Blind bake the crust for 12-15 minutes until it’s golden brown and set aside to cool slightly while you prepare the filling.
Step 3: Make the Filling
In a medium bowl, whisk together the apple butter, sweetened condensed milk, eggs, vanilla extract, cinnamon, nutmeg, and cloves until smooth and fully combined. The filling should be creamy and fragrant, showcasing the delightful flavors of the Apple Butter Pie. Pour this luscious mixture into the cooled crust, ensuring an even layer.
Step 4: Prepare the Topping
For the crunchy oat topping, combine oats, brown sugar, flour, and cinnamon in a mixing bowl. Cut in cold butter until the mixture becomes crumbly. This topping will create a delightful contrast against the smooth filling of the Apple Butter Pie. Set aside while you assemble the pie for baking.
Step 5: Assemble and Bake
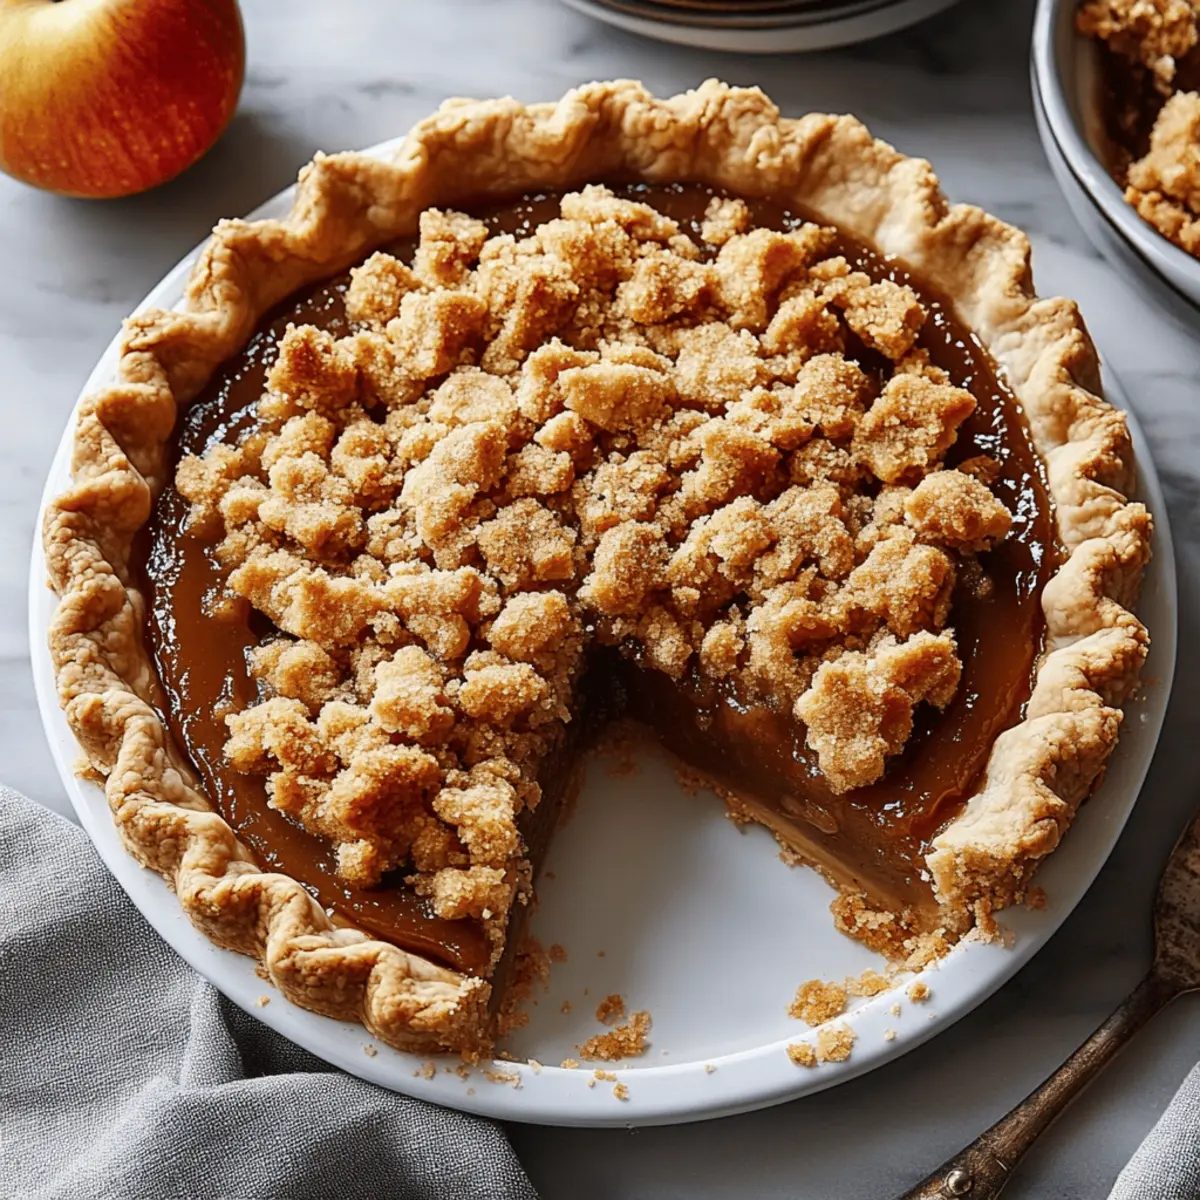
Sprinkle the prepared oat topping evenly over the apple butter filling in the pie crust. Preheat your oven to 375°F and bake for 35-45 minutes, or until the topping is golden brown and the filling is set. The aroma of spiced apples will fill your kitchen, a sure sign that your Apple Butter Pie is on its way to perfection!
Step 6: Cool
After baking, remove the pie from the oven and let it cool at room temperature for about an hour. This cooling time allows the filling to set properly. For cleaner slices, refrigerate the pie for 2 hours before serving. As it chills, the flavors meld beautifully together, creating the ultimate cozy dessert experience.
Make Ahead Options
These Cozy Apple Butter Pies are perfect for meal prep enthusiasts! You can prepare the crust and filling up to 24 hours in advance, keeping them refrigerated to maintain freshness. Simply make the crust, wrap it tightly in plastic wrap, and store it in the fridge. For the filling, combine the apple butter, sweetened condensed milk, eggs, and spices, then refrigerate in a sealed container. When you’re ready to bake, assemble the pie with the prepped crust and filling, add your oat topping, and bake as directed. This strategy not only saves time during busy weeknights but ensures your Apple Butter Pie is just as delicious and comforting as if you had baked it all at once!
Expert Tips for the Best Apple Butter Pie
-
Keep Ingredients Cold: Ensure your butter and water are ice-cold for the flakiest crust. Warm ingredients can lead to a disappointing, tough pie crust.
-
Thoroughly Whisk Filling: Mix the apple butter filling until smooth and well combined. This prevents lumps and ensures each slice of Apple Butter Pie is creamy and delicious.
-
Don’t Overmix Topping: When creating the oat topping, mix just until crumbly. Overmixing can make it dense, so you want that perfect crunchy texture.
-
Cool Before Slicing: Allow the pie to cool completely before cutting. This helps the filling to set, making for cleaner, beautiful slices when serving.
-
Experiment with Spices: Feel free to adjust the cinnamon, nutmeg, and cloves according to your taste. Spices can transform your Apple Butter Pie into a truly personalized dessert!
What to Serve with Cozy Apple Butter Pie
Indulge in a holistic dining experience by complementing your dessert with the perfect pairings that enhance its warmth and flavors.
-
Whipped Cream: A dollop of freshly whipped cream adds a light, airy contrast to the rich pie, enhancing every bite.
-
Vanilla Ice Cream: The creamy sweetness and chilly temperature of vanilla ice cream create a heavenly pairing with the warm apple flavors.
-
Warm Chai Tea: A cup of fragrant chai brings spices that echo the pie’s flavors, creating a cozy, aromatic experience.
-
Caramel Sauce: Drizzling warm caramel over each slice adds decadent sweetness, elevating your dessert to a whole new level of indulgence.
-
Candied Pecans: These sweet, crunchy nuts introduce a delightful texture and nutty flavor, perfect for balancing the creamy filling.
-
Apple Cider: Hot apple cider brings seasonal warmth, enhancing the cozy vibes of your gathering. It's like sipping autumn in a cup!
-
Cinnamon Sugar Dust: A sprinkle of cinnamon sugar over the pie heightens the spice profile and adds a delightful, sweet crunch.
-
Coffee: A freshly brewed cup of coffee complements the pie beautifully, offering a bittersweet counterpoint to the dessert richness.
-
Cheese Board: Pairing sharp cheddar with pie creates an intriguing contrast, balancing flavors and offering an unexpected yet delightful combination.
Apple Butter Pie Variations & Substitutions
Feel free to explore these delightful twists to customize your Apple Butter Pie just the way you love it!
- Gluten-Free: Use a gluten-free flour blend to make the crust and ensure everyone can enjoy this delicious dessert.
- Vegan: Swap butter with vegan butter and use flax eggs for a completely plant-based version that's just as delightful.
- Nutty Crunch: Add chopped pecans or walnuts to the topping for an extra layer of flavor and a satisfying crunch.
- Chocolate Delight: Mix in chocolate chips with the topping for a sweet twist that makes every bite a chocolate lover's dream.
- Spicy Kick: Incorporate a pinch of cayenne pepper into the filling for a subtle warmth that elevates the cozy spices beautifully.
- Apple Mix: Combine apple butter with another fruit butter, like pear or pumpkin, for a unique filling that surprises the taste buds.
- Sweetness Level: If you prefer a sweeter pie, increase the amount of sweetened condensed milk or brown sugar to taste.
- Extra Creamy: For a more indulgent filling, fold in a bit of cream cheese or mascarpone before pouring it into the crust for enhanced richness.
Experiment with these variations to make the Apple Butter Pie uniquely yours! And if you’re keen on creating more variations, check out our guide on making a gluten-free pie crust. It’s a helpful starting point for adjusting this recipe to suit your dietary preferences without losing any of that cozy comfort.
How to Store and Freeze Apple Butter Pie
Room Temperature: Allow the pie to cool completely, then cover lightly with foil. It can be stored at room temperature for up to 2 days, perfect for casual snacking.
Fridge: Wrap any leftovers tightly in plastic wrap or place in an airtight container. The pie will stay fresh in the refrigerator for up to 4 days, ensuring every slice tastes delightful.
Freezer: For longer storage, freeze the pie whole or in slices by wrapping it tightly in foil or using a freezer-safe container. It can be frozen for up to 3 months.
Reheating: Thaw the pie in the fridge overnight before warming it slightly in the oven at 350°F for 10-15 minutes, bringing back the cozy flavors of this Apple Butter Pie.
Apple Butter Pie Recipe FAQs
How do I choose the right apple butter for my pie?
Absolutely! Look for apple butter that is smooth and rich in flavor. A homemade batch often has the best taste, or opt for a high-quality store brand that doesn’t contain added sugars or preservatives. The flavor of the apple butter will significantly influence the final result of your pie, so I recommend tasting a bit before using it!
What’s the best way to store leftover Apple Butter Pie?
To keep your pie fresh, wrap any leftovers tightly in plastic wrap or place it in an airtight container. You can store it in the refrigerator for up to 4 days. Just remember to allow it to cool completely before wrapping, which helps maintain that lovely texture and prevents sogginess.
Can I freeze Apple Butter Pie, and how do I do it?
Yes, you can freeze your pie! Wrap it tightly in foil or a freezer-safe container to avoid freezer burn. You can freeze it whole or in slices for up to 3 months. When you’re ready to enjoy it, let the pie thaw in the fridge overnight. To warm it up and bring back that cozy flavor, pop it in a preheated oven at 350°F for about 10-15 minutes.
What should I do if my pie crust turns out tough?
Very! If your crust is tough, it may have been overmixed. Always mix the dough just until it comes together, and be sure to keep your butter and water cold. If you find yourself with a tough crust, try incorporating a bit more cold water to ease the dough or cover the crust with foil during baking to prevent further browning while it bakes through.
Is this Apple Butter Pie suitable for those with gluten allergies?
Absolutely! To make a gluten-free version of this Apple Butter Pie, simply substitute the all-purpose flour in the crust with a gluten-free blend that you enjoy. There are many excellent blends available that work beautifully as a 1-to-1 substitute. Just ensure that your other ingredients, like the oats for the topping, are certified gluten-free to maintain safety for those with gluten sensitivities.
How long should I let the Apple Butter Pie cool before slicing?
I often recommend allowing the pie to cool at room temperature for about an hour. This cooling period helps the filling set properly. For even cleaner slices, refrigerate it for an additional 2 hours before slicing. This ensures each piece maintains its shape and texture beautifully when served.
Irresistibly Cozy Apple Butter Pie to Warm Your Heart
Ingredients
Equipment
Method
- In a large mixing bowl, combine flour, sugar, and salt. Cut in cold butter using a pastry cutter until the mixture resembles walnut halves. Gradually add in cold water and apple cider vinegar, mixing until the dough just comes together. Shape the dough into a disc, wrap it in plastic wrap, and refrigerate for 2 hours.
- Once chilled, roll out the dough on a floured surface into a large circle. Transfer to a pie plate, pressing gently into the bottom and sides. Refrigerate for 10 minutes, then preheat your oven to 400°F. Blind bake the crust for 12-15 minutes until golden brown.
- In a medium bowl, whisk together the apple butter, sweetened condensed milk, eggs, vanilla extract, cinnamon, nutmeg, and cloves until smooth. Pour this mixture into the cooled crust, ensuring an even layer.
- Combine oats, brown sugar, flour, and cinnamon in a mixing bowl. Cut in cold butter until crumbly. Set aside.
- Sprinkle the oat topping evenly over the filling. Preheat oven to 375°F and bake for 35-45 minutes, or until the topping is golden brown and the filling is set.
- After baking, remove from the oven and let cool at room temperature for about an hour. Refrigerate for 2 hours before serving.


Leave a Reply