
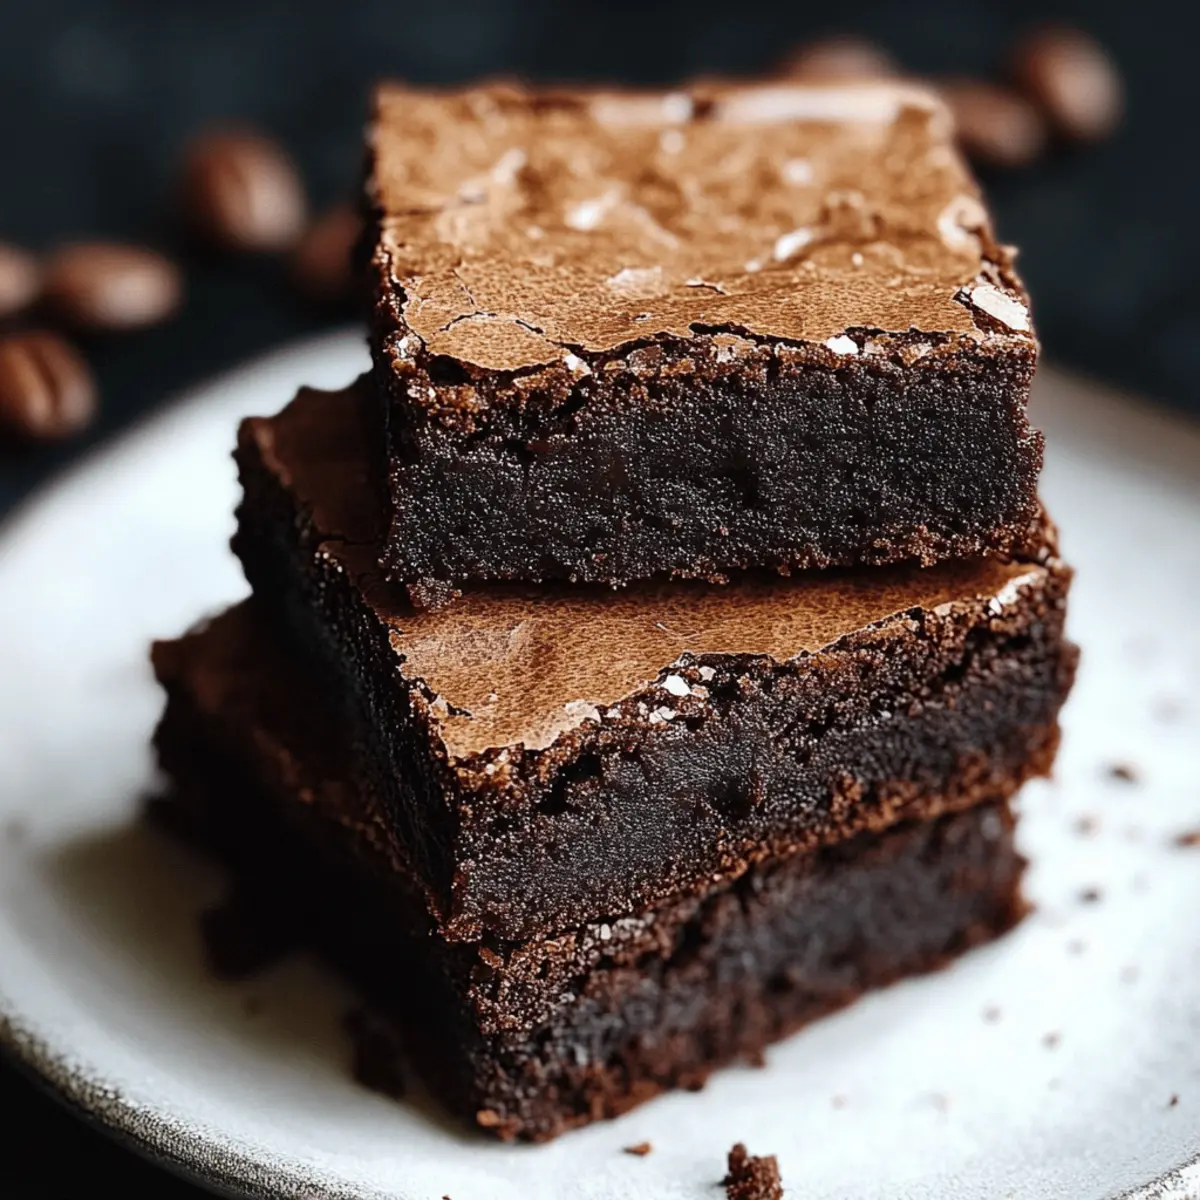
As I stood in my kitchen, the warm aroma of browned butter hit me like a cozy hug, instantly reminding me of my favorite café. It’s a moment that always inspires me to whip up a batch of Rich Espresso Brownies. These fudgy delights are the perfect blend of bold dark cocoa, luscious melted chocolate, and a touch of espresso that dances across your palate. What I adore most about this recipe is how effortlessly quick it comes together, making it an ideal solution for those late-night dessert cravings or a last-minute gathering. Plus, with a texture that melts in your mouth and a deep, rich flavor that rivals any bakery brownie, these espresso brownies are bound to impress. Are you ready to indulge in a little homemade magic? Let’s dive in!
Why Are Espresso Brownies a Must-Try?
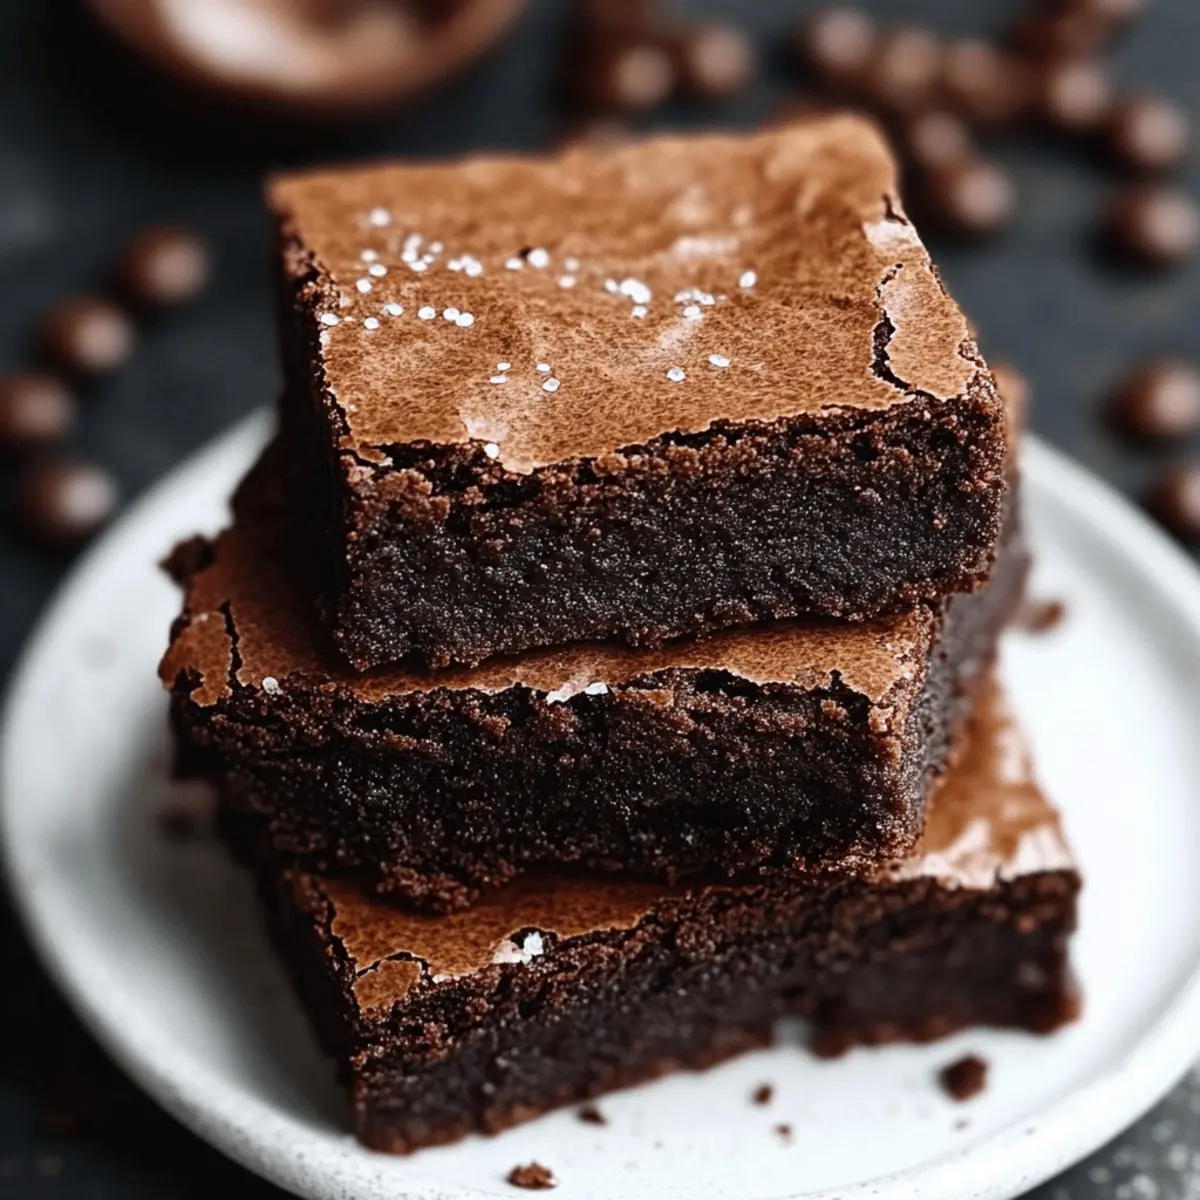
Indulgence Awaits: Each bite of these Espresso Brownies delivers a rich, fudgy experience that melts in your mouth, satisfying even the strongest chocolate cravings.
Quick & Easy: The method is simple, making these brownies perfect for spontaneous baking ventures or late-night dessert indulgences.
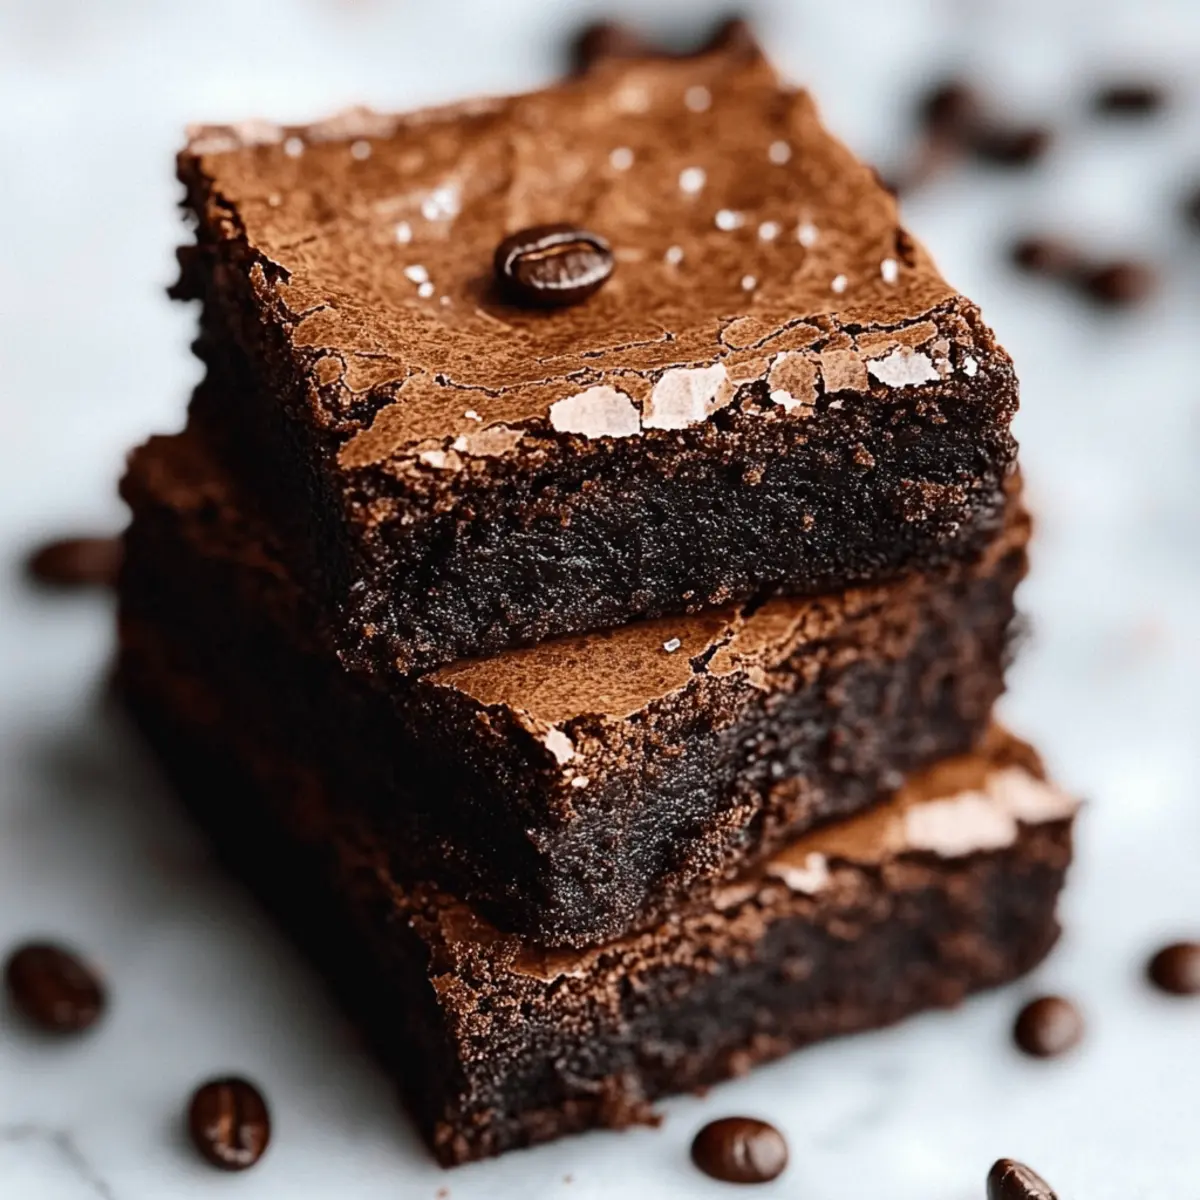
Bold Coffee Kick: The subtle hint of espresso enhances the chocolate, creating a uniquely satisfying flavor profile that coffee lovers will absolutely adore.
Versatile Treat: These brownies are easy to customize! Add nuts or experiment with different chocolate types for personalized perfection, and serve them warm with ice cream for an irresistibly gooey dessert.
Crowd-Pleasing Delight: Perfect for gatherings, they’re sure to impress friends and family alike, making your baking sessions more memorable. For more delightful treats, don’t forget to check out the popularity of homemade desserts in the community!
Espresso Brownie Ingredients
For the Batter
• Unsalted Butter – Adds richness and moisture; browning it deepens the flavor.
• Semi-Sweet Chocolate Chips – Core ingredient for chocolate flavor; opt for high-quality for best results.
• Granulated Sugar – Provides sweetness and balances the bitterness of espresso and cocoa.
• Brown Sugar – Contributes moisture and a hint of caramel flavor, enhancing the overall taste.
• Large Eggs – Essential for structure and moisture; beat until light and fluffy for the perfect texture.
• All-Purpose Flour – Gives the brownies their structure; be careful not to overmix.
• Dark Cocoa Powder – Deepens the chocolate flavor, making your brownies incredibly rich.
• Espresso Powder – Infuses a coffee kick; instant coffee can be used as a substitute, but adjust for bitterness.
• Salt – Balances sweetness and enhances the flavors, so don’t skip this crucial ingredient!
Step‑by‑Step Instructions for Espresso Brownies
Step 1: Brown the Butter
In a medium saucepan, melt ½ cup of unsalted butter over medium heat. Keep stirring until it becomes golden brown and develops a nutty aroma, about 5–7 minutes. Once browned, remove it from heat and carefully pour it into a mixing bowl to cool slightly, capturing that rich flavor which will elevate your Espresso Brownies.
Step 2: Melt the Chocolate
Add 1 cup of semi-sweet chocolate chips to the warm browned butter. Stir well until the chocolate is fully melted and the mixture is smooth, about 2–3 minutes. This luscious mixture will serve as the base for your brownies, giving them that decadent chocolate flavor.
Step 3: Combine Dry Ingredients
In a separate bowl, whisk together 1 cup of all-purpose flour, ½ cup of dark cocoa powder, 1 teaspoon of espresso powder, and ¼ teaspoon of salt. Make sure there are no lumps in your dry ingredients, as this will ensure a beautifully smooth batter, vital for those rich Espresso Brownies.
Step 4: Mix Wet Ingredients
In another mixing bowl, beat 2 large eggs with 1 cup of granulated sugar, ½ cup of brown sugar, and 1 teaspoon of vanilla extract until light and fluffy, about 1–2 minutes. This mixture adds richness and structure to your brownies, so take your time to achieve the right fluffy consistency.
Step 5: Combine Mixtures
Gradually drizzle the warm chocolate mixture into the wet ingredients while mixing continuously. Once well combined, gently fold in the dry ingredients until just incorporated, being careful not to overmix. You want that rich, fudgy texture to shine through in your Espresso Brownies.
Step 6: Bake
Preheat your oven to 350°F (180°C) and line an 8x8-inch baking pan with parchment paper. Pour the brownie batter into the prepared pan and spread it evenly. Bake for about 30–40 minutes, or until a toothpick inserted in the center comes out with moist crumbs. Adjust baking time accordingly based on your oven and pan type for perfect brownies.
Step 7: Cool and Cut
Once baked, remove your Espresso Brownies from the oven and let them cool in the pan for at least 15 minutes. For best results, use a hot knife to slice the brownies once they are completely cooled, allowing for clean cuts and preventing them from crumbling apart. Enjoy your rich, fudgy creation!
How to Store and Freeze Espresso Brownies
Room Temperature: Store your Espresso Brownies in an airtight container at room temperature for up to 3 days to maintain their fudgy texture.
Fridge: For longer freshness, place the brownies in the fridge; they can last up to one week, but bring them to room temperature before serving to restore their deliciousness.
Freezer: Freeze brownies in individual squares wrapped tightly in plastic wrap and then in aluminum foil for up to 3 months. Thaw at room temperature before indulging.
Reheating: If you prefer warm brownies, gently reheat them in the microwave for about 10-15 seconds for a gooey experience that brings out the rich flavors of the Espresso Brownies.
What to Serve with Rich Espresso Brownies
Indulge your senses and create a delightful dessert experience with perfect pairings for your rich and fudgy treats.
-
Vanilla Ice Cream: The creamy, cool flavors contrast beautifully with the rich espresso brownies, making each bite a delightful dance of temperatures.
-
Fresh Berries: Juicy raspberries or strawberries add a refreshing and tart touch that complements the deep chocolate flavors, elevating your dessert experience.
-
Whipped Cream: Fluffy, lightly sweetened whipped cream balances the brownies' richness, offering a light, airy texture with each decadent bite.
-
Drizzle of Caramel: A warm caramel drizzle adds an irresistible sweetness that enhances the coffee notes, making every mouthful a delightful journey.
-
Cup of Espresso: Pairing these brownies with a strong cup of espresso allows the flavors to shine together, creating a blissful coffee moment.
-
Dark Chocolate Sauce: A decadent chocolate sauce poured over the brownies creates an extra layer of indulgence, perfect for those who can’t get enough chocolate!
Let your creativity shine and experience the ultimate dessert satisfaction!
Make Ahead Options
These decadent Espresso Brownies are perfect for busy home cooks looking to save time during the week! To prep ahead, you can brown the butter and mix the dry ingredients up to 24 hours in advance; simply refrigerate the browned butter in an airtight container. When you're ready to bake, combine the prepped ingredients with the wet ingredients and bake as directed. For even more convenience, the brownies can be cut and stored in an airtight container at room temperature for up to 3 days or refrigerated if you want to extend their freshness. Just remember, bringing them to room temperature before serving will ensure they are just as delicious as the day they were made!
Espresso Brownies Variations & Substitutions
Feel free to sprinkle your personal touch on these delicious espresso brownies for a unique twist that will delight your taste buds!
- Nutty Crunch: Add walnuts or pecans for a satisfying crunch. Their earthy flavors enhance the brownie experience beautifully.
- Decadent Dark Chocolate: Swap semisweet chips for dark chocolate chunks to intensify the rich chocolate flavor, perfect for true chocolate lovers.
- Extra Coffee Kick: Increase the espresso powder to deepen the coffee flavor and satisfy those serious caffeine cravings. Just a little more can make a big difference!
- Caramel Swirl: Drizzle caramel sauce into the batter before baking for an extra layer of sweetness and gooey texture. The blend of coffee and caramel is simply divine!
- Heat Up the Flavor: Add a pinch of cayenne pepper or some red pepper flakes for a surprising kick that plays beautifully off the rich chocolate. It’s a bold twist that adventurous eaters will love!
- Vegan Option: Substitute eggs with flax eggs (1 tablespoon of flaxseed meal mixed with 2.5 tablespoons of water) and use coconut oil instead of butter for a plant-based version. These brownies can be just as rich and fudgy!
- Chewy Texture: Mix in extra chocolate chunks or chocolate melts for gooey pockets that enhance both texture and flavor throughout each brownie. They're decadent bites of chocolate heaven!
- Flavor Infusion: Enhance with a few drops of your favorite extracts like almond or peppermint for a delightful scent and taste. A small change can create a lovely surprise in every bite!
Don't hesitate to explore these variations, and let your creativity shine through! And if you're looking for more than just brownies, you might want to check out some crowd-pleasing treats that are sure to impress!
Expert Tips for the Best Espresso Brownies
• Don’t Rush the Butter: Browning the butter is key to achieving a rich flavor. Take your time and stir until it's nutty and golden.
• Quality Ingredients: Using high-quality semi-sweet chocolate chips elevates the taste of your Espresso Brownies; it truly makes a difference.
• Measure Accurately: Ensure precise measurements for the flour and cocoa powder to avoid a cakey texture. Too much flour can dry out the brownies.
• Check with a Toothpick: For perfect doneness, the toothpick should come out with moist crumbs, not clean—this keeps them fudgy and delicious.
• Cooling is Crucial: Allow your brownies to cool completely before slicing. This prevents crumbling and gives you those perfect, fudgy squares.
Espresso Brownies Recipe FAQs
What type of butter should I use for Espresso Brownies?
I recommend using unsalted butter for rich flavor and moist brownies. Browning the butter not only enhances the taste but also contributes to that delightful nutty aroma.
How do I know if my brownies are baked properly?
To test for doneness, insert a toothpick into the center of the brownies. It should come out with moist crumbs, not clean, ensuring that they remain fudgy and delicious. Adjust the baking time based on your specific oven and pan type to avoid overbaking.
Can I store my Espresso Brownies?
Absolutely! Keep your Espresso Brownies in an airtight container at room temperature for up to 3 days. For extended freshness, refrigerate them for up to a week, but let them come to room temperature before serving to enjoy the best flavor and texture.
How should I freeze Espresso Brownies?
To freeze your brownies, first cut them into individual squares. Wrap each piece tightly in plastic wrap and then in aluminum foil. Place them in a freezer-safe bag, and they can last for up to 3 months. When you’re ready to enjoy them, simply thaw at room temperature.
Can I use instant coffee instead of espresso powder?
Yes, you can substitute instant coffee for espresso powder! However, it’s best to start with a little less—about ½ teaspoon—and adjust to suit your taste. Keep in mind that instant coffee may result in a slightly different flavor profile but will still provide a nice coffee kick.
Are Espresso Brownies pet-friendly?
No, brownies contain ingredients like chocolate and sugar that can be harmful to pets. Always keep your treats out of your furry friends’ reach to ensure their safety!
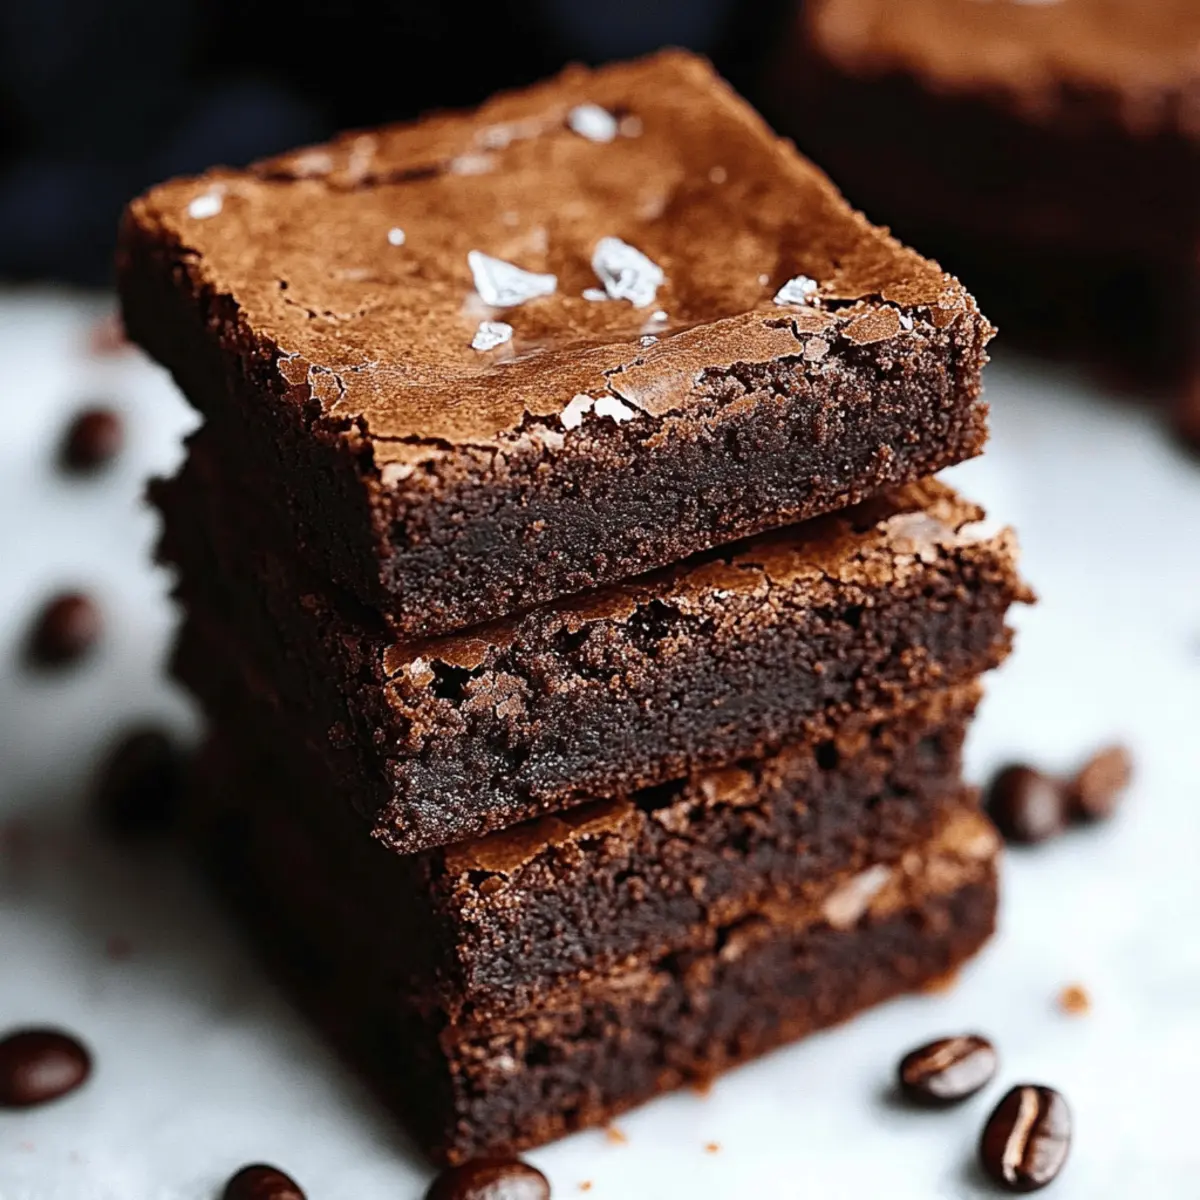
Indulgent Espresso Brownies That Will Melt Your Heart
Ingredients
Equipment
Method
- In a medium saucepan, melt the unsalted butter over medium heat until golden brown and nutty, about 5–7 minutes. Pour into a mixing bowl to cool slightly.
- Add the semi-sweet chocolate chips to the warm browned butter and stir until melted and smooth, about 2–3 minutes.
- In a separate bowl, whisk together the all-purpose flour, dark cocoa powder, espresso powder, and salt.
- In another mixing bowl, beat the eggs with granulated sugar, brown sugar, and vanilla extract until light and fluffy, about 1–2 minutes.
- Gradually drizzle the chocolate mixture into the wet ingredients while mixing. Fold in dry ingredients until just combined.
- Preheat oven to 350°F (180°C) and line an 8x8-inch baking pan with parchment paper. Pour the batter into the pan and spread evenly. Bake for about 30–40 minutes.
- After baking, cool in the pan for at least 15 minutes before slicing with a hot knife.
Leave a Reply